Declouding Chinese WIFi plugs
BE CAREFUL! This post has been marked as potentially dangerous either to health or the devices discussed. You follow this post at your own risk.
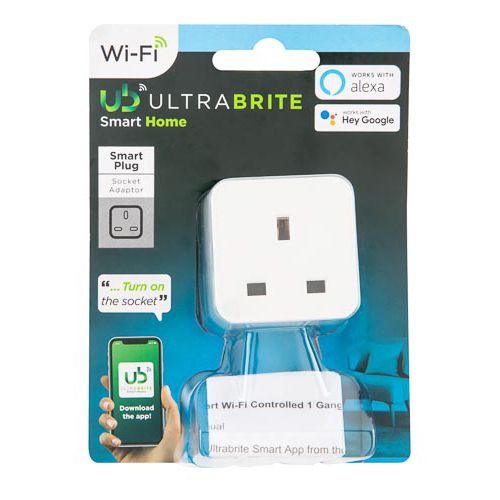
So, it turns out that a lot of smart gear from many manufacturers, including ones you’ve almost certainly heard of, comes from a company called Tuya. They seem to make all sorts of fun IOT gear, which all connects to the Tuya cloud. What Tuya seem to do is sell whitelabeled ‘versions’ of their products to various brands who then sell them as if they’d manufactured them themselves. Very interesting right?
There exist many projects to de-cloud these products. One such project is called Tuya-convert. Tuya convert is a tool which emulates the update server these plugs connect to in order to deliver custom firmware to the plug that it can run. This project is amazing, since it gives you the option of declouding IOT gear without having to do any hardware modification at all. Unfortunately, it seems this project is dead in the water right now since Tuya is playing the typical cat and mouse game with the developers, and currently Tuya is winning.
I wanted to open my plug up next, in order to figure out what made it tick. Opening it was fairly difficult, given that it is held together with nothing but clips. After running a guitar pick around the seam a few times, I finally managed to pop the cover. What I found really surprised me. There was a board in there that looked suspiciously like an ESP based platform. Further searching led me to realise that the board in there that handles all the ‘smart’ of the plug is actually an implementation of the ESP8285 - which is a cheaper (but just as hackable) variant of the ESP8286, which is related to the ESP32.
Consulting the easily accessible datasheet for the TYWE-2s - we can quickly identify the serial pins, and solder wires to them. Then, we can connect it up to some Serial to USB adaptor and could flash whatever code we wanted to the ESP. I however wanted a nicer solution. I found Tasmota. Tasmota is another open source project that runs on these plugs that allows you to connect them up to HomeAssistant or similar. It works really well. Read on for the process:
- Buy a WiFi plug.
- Open it up, in order to figure out where the serial pins are. We can see on mine, there is a nice TYWE-2S module which unfortunately due the construction of this plug has awkward to access serial pins.
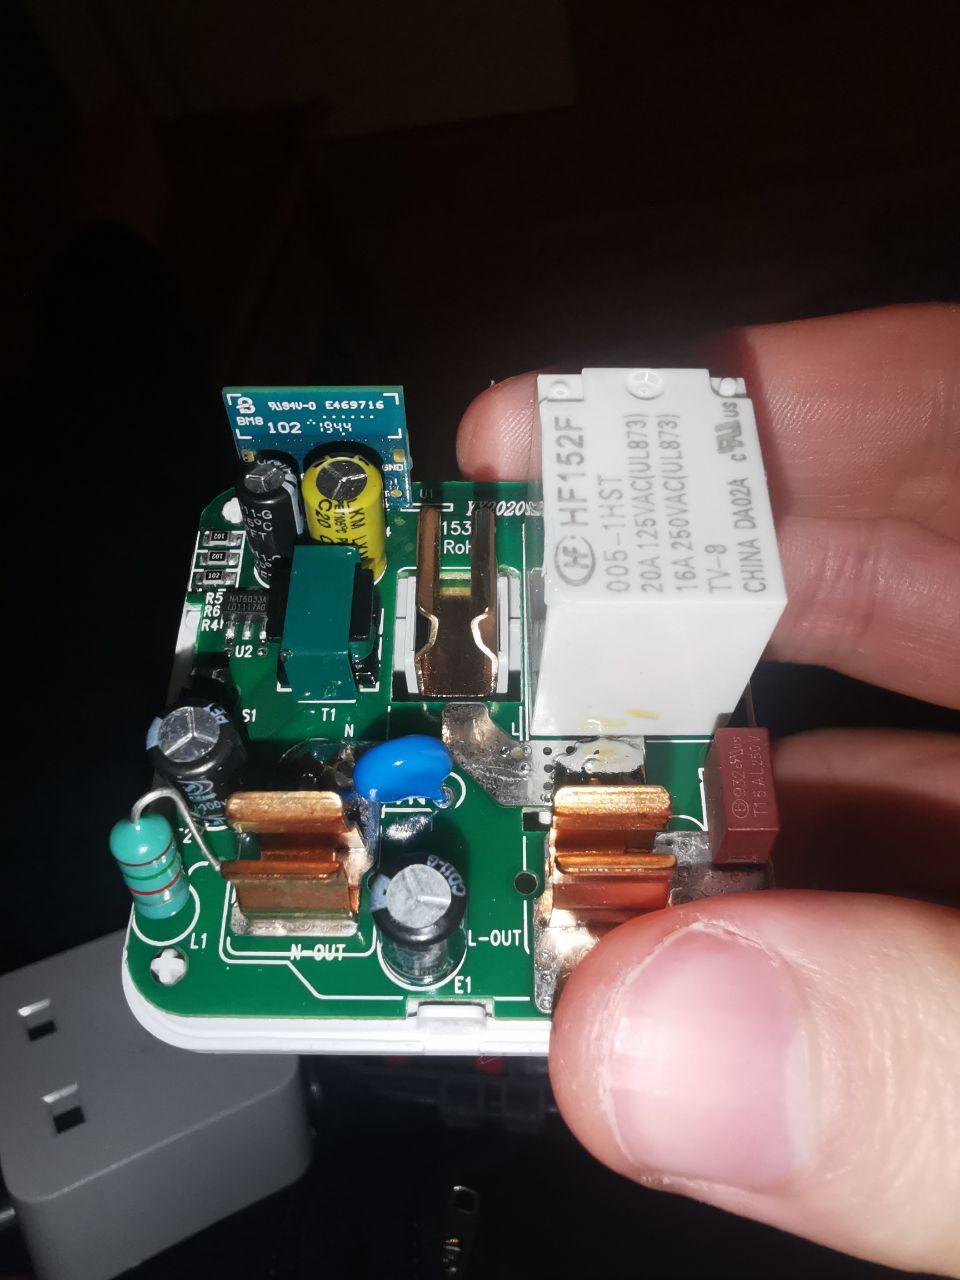
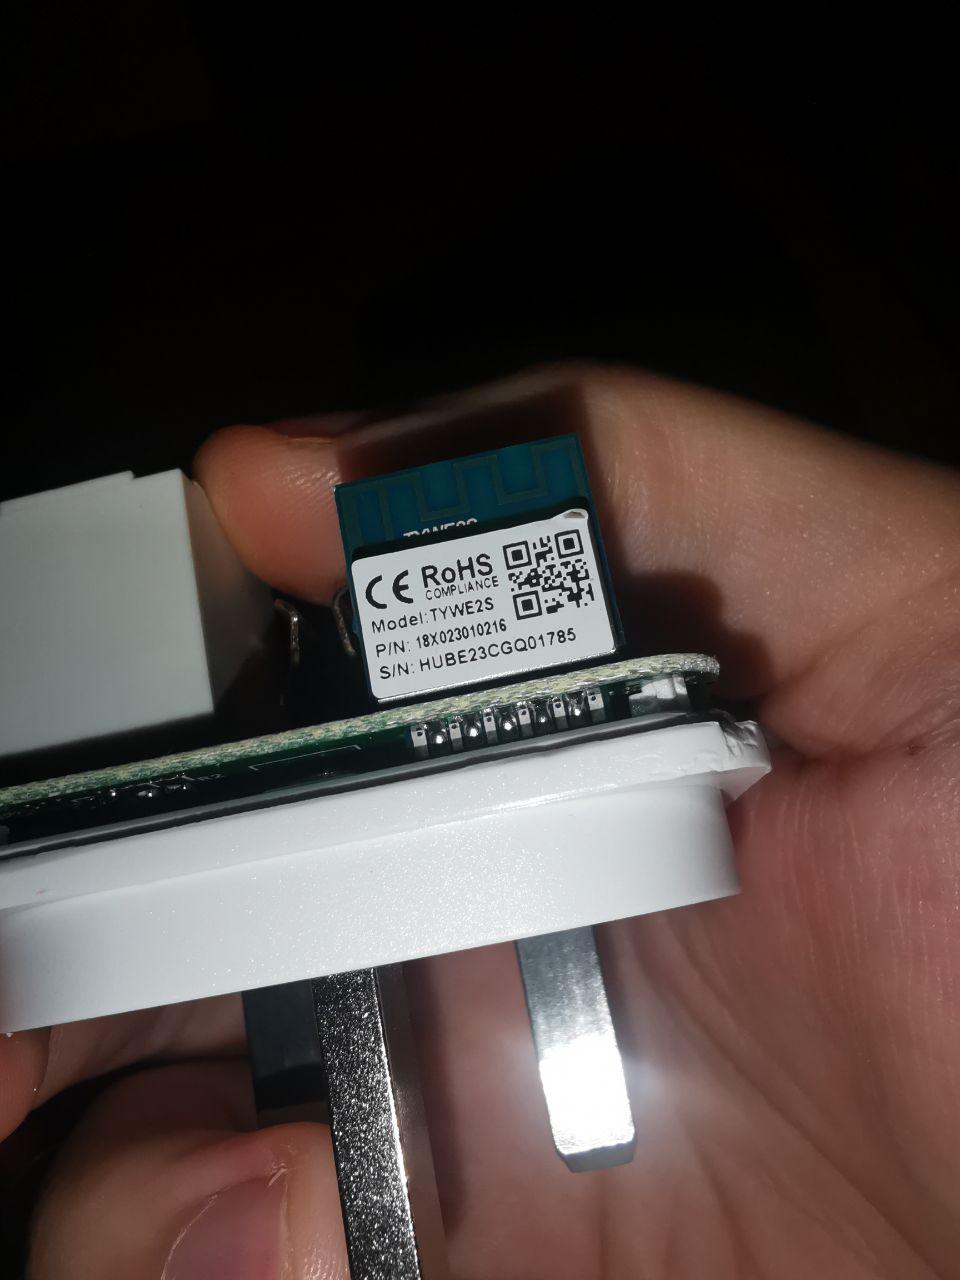
Above is a view of the pins we need access to. Unfortunately, the two options you have for getting access to them are to desolder the enormous blobs of solder holding the mains plug pins on, or to cut into the case. I went with cutting into the case. Ugly, but works.
- Put it back together, and cut a hole where the pins you need are. Below is a view of the hole I cut. I cut it using a hacksaw and a hot knife. Uuuugly.
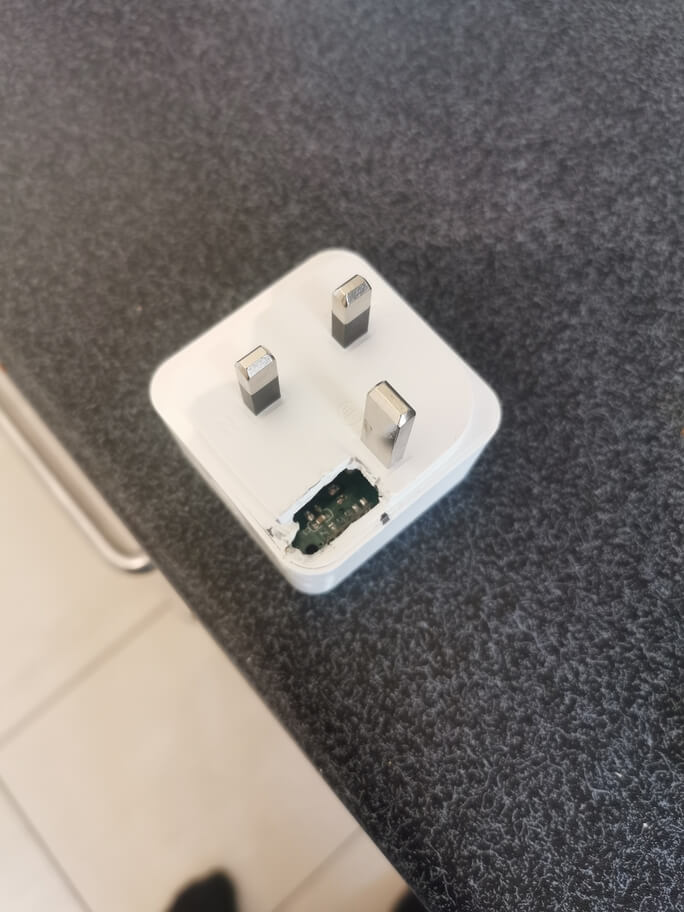
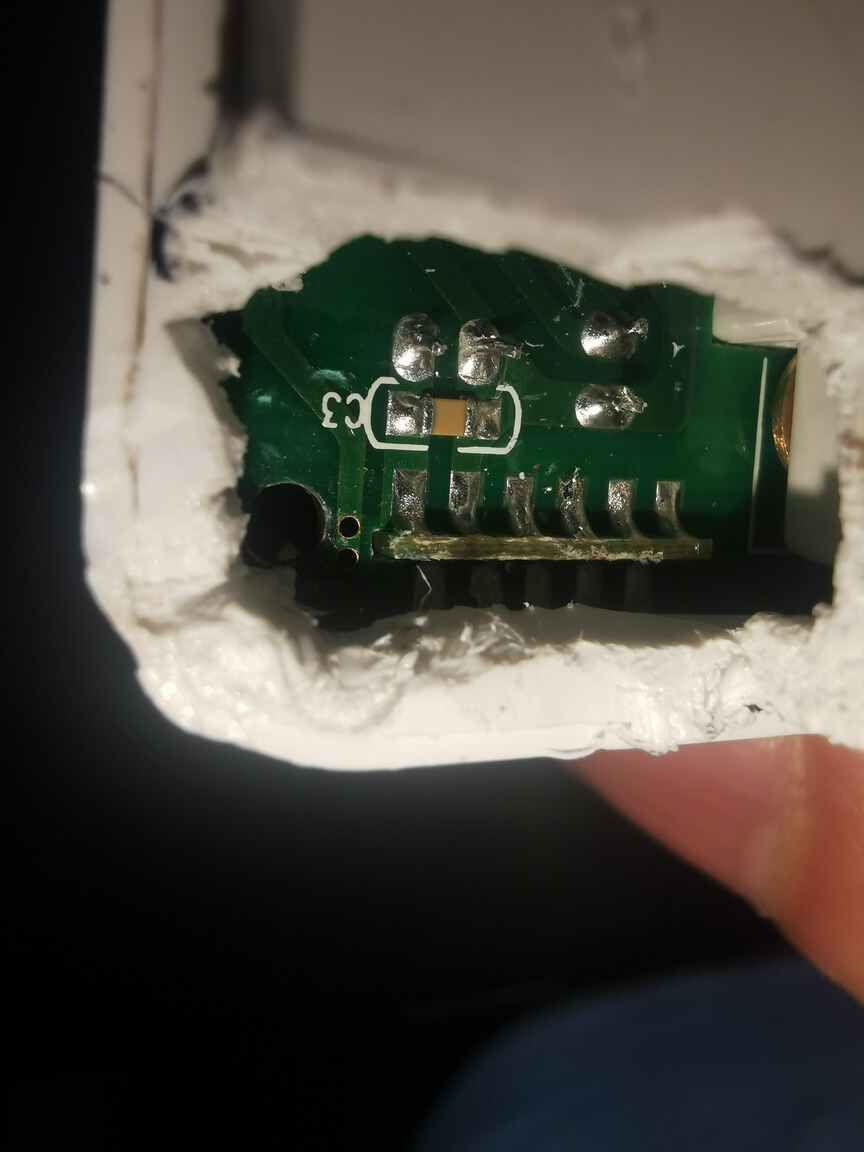
See here for a data sheet to help identify which pins are which.
- Solder some female jumper wires to the pins we need access to, and connect them to the serial interface. You’ll want to make especially super sure that your interface is clever enough to support 3.3v logic level input. Otherwise you risk frying the board or just failing to flash the board repeately. Ask me how I know.
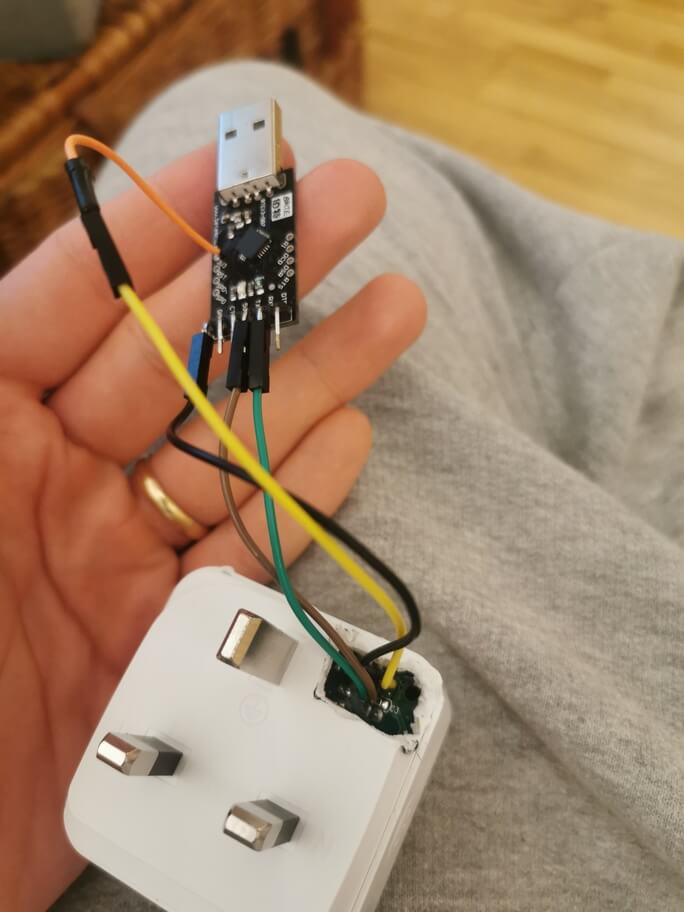
-
Grab Tasmotiser and follow the instructions. Make very sure your wifi details are correct, otherwise you’ll end up having to flash the plug a second time.
-
Once your Tasmotised plug is up, and you can control it from a web interface, it’s time to interface it with your HomeAssistant install. Your Home Assistant install must already have the MQTT integration. Ensure you enable discovery in your Home Assistant MQTT config.
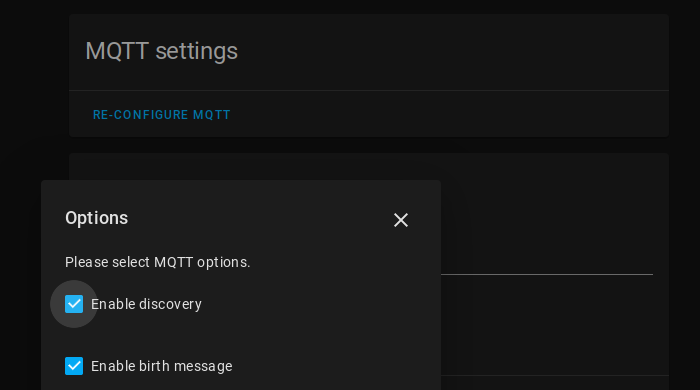
-
Go back to the web server for your WiFi Plug. Configure the MQTT server to connect to the MQTT server your Home Assistant is connected to.
-
In this same interface, head to console, and type
SetOption19 1. This causes the plug to emit an autodiscovery message which should mean Home Assistant picks up on your plug and you should now be able to control it in Home Assistant, sans cloud!
Let me know what you thought! Hit me up on Mastodon at @kn100@fosstodon.org.