Home Lab Upgrades: Why This Mutant Motherboard/CPU Combo Could Be the Perfect Solution
I’ve always liked strange hardware. Odd prototype mobile phones, weirdo computer parts that only exist because of Bitcoin mining etc. You name it, I enjoy looking at it and imagining the possibilities. Recently, thanks to CraftComputing on Youtube, I became aware of a strange sort of motherboard/CPU combo that features an Engineering Sample CPU that purports to be an Intel 11800h. The retail version of this chip would have originally been destined to go into a laptop. Here however, it was somehow mounted to a desktop motherboard.
What is an Engineering Sample? Mutant?
It turns out, CPU manufacturers like Intel churn out a fair few “Engineering Sample” CPUs, which they then distribute to OEMs and ISVs so that they can test their hardware or software against some soon to be released CPU. For whatever reason, there appears to be a glut of these Engineering Sample CPUs from Intels 11th and 12th generation CPU product line, and they’re now finding their way into various strange products on Aliexpress, like this motherboard. I’ve also seen entire ‘Mac Mini’ style computers on Aliexpress that claim to use these same chips.
These boards have been nicknamed “mutants” in the communities which already knew about them. I’ve heard that these strange mutant boards usually find their way into countries where consumers cannot afford or do not have access to “normal” parts. I’ve seen reviews of this board from Brazil and Russia, implying they’re somewhat popular there. They’re not a new concept as I thought, and have been seen before.
Why might we want such a motherboard, though? For starters, the price is pretty fantastic. For 220$, we get a board which features the following:
- A CPU equivalent to an Intel i7-11800h (8 cores, 16 threads, turbo frequency of 4.60 GHz, TDP of 35w)
- 4x SATA ports
- PCI-Express x16 slot, PCI-Express x1 slot
- 1Gbit Ethernet
- A NVME slot
For 220 CAD, you’d be hard pressed to find a CPU/Motherboard combination that performs as well as this board should. It’s a great deal, theoretically.
Having a destined-for-mobile CPU is nice for other reasons too. It’s low power! These mobile chips are optimised to run as fast as possible, in as small a power envelope as possible. For a home server use case, this is a desirable property, since this will lead to lower bills, and less heat to dissipate.
Why would I want one
? For the past few years, I’ve been hosting my own services using a ‘home lab’ setup, which has gone through several evolutions. I started with an old netbook, then moved to Raspberry Pis, working my way through the generations of Pi, all the way to the Pi 4 8GB. I then added a consumer grade NAS to my setup, which I featured in my article about replacing Google Photos with a self hosted alternative.
After a few months with the Pi 4, I got tired of managing an ARM machine. This isn’t a slight against the Raspberry Pi. They’re amazing little boards and are fantastic for a lot of use cases - but they’re not perfect. Not all software is ready for ARM, and the hardware can be a little flaky if you use the wrong power supply. That flakiness can corrupt your MicroSD card, leaving you offline.
So, I decided to level up to a Tiny PC - the Lenovo M710q. These Tiny PCs are available for fairly cheap online second hand. I used this machine in my article about using OCR to extract data from a set of Eufy weighing scales. This machine and NAS setup satisfied my needs for around a year, but eventually, I decided I wanted more.
For a lot of people who are considering how far to take their own home lab, I’d suggest stopping here. This setup was mostly great for me! At the time, I had a fairly average internet connection (80mbit down, 20mbit up), and this setup managed to keep up with that fairly well. It was enough to host all the home services I wanted to host. If you were to purchase, say, a Synology NAS, instead of a Terramaster one, it would probably be fine. My Terramaster NAS however began to worry me. Users including myself were regularly finding security holes in the NAS, but the real cherry in the icing was discovering data corruption due to my choosing to format my drives as BTRFS. Turns out, there was some nasty bug in the Terramaster firmware which lead to data corruption for users who picked BTRFS. Terramaster of course provided no migration path away from BTRFS to EXT4 (the other supported filesystem) when they quietly announced that newer versions of this NAS firmware would stop offering BTRFS as an option, so I decided enough was enough. No more rinky dink NAS for me.
I have since moved to Canada, and now have significantly faster internet. This is where the shortcomings of mounting a NAS SMB share on another machine became apparent to me. For no reason at all, the NAS would entirely lock up when downloading stuff from the internet at more than 50MB/s. Transfers would just stop occasionally, and resume about 30 seconds later. Further comically awful security flaws in TOS were discovered, so I finally decided to action what I’d previously decided, and got rid of the NAS + the mini machine. I started researching options for something better.
Enter Erying
I had some features I really wanted to try to get on the new home server. These were:
- Host a larger number of drives than 2, as my current 4TB mirrored array is getting pretty full
- Be x86 - They’re just easier to manage than ARM boards, in my opinion
- Easily handle gigabit network traffic.
- Offer the ability to go higher than Gigabit in future
- Run Proxmox
- (Stretch) GPU Passthrough to a virtual machine
I’d been thinking about this project for a little while, but finally decided to go ahead and do it when I spotted this Erying board. It ticked all of these boxes exceptt he one regarding GPU Passthrough. There were reports that some users (including CraftComputing) were unable to get this working. That was not an absolute necessity for me, so I took the plunge anyway. I placed the order, and anxiously awaited my motherboard.
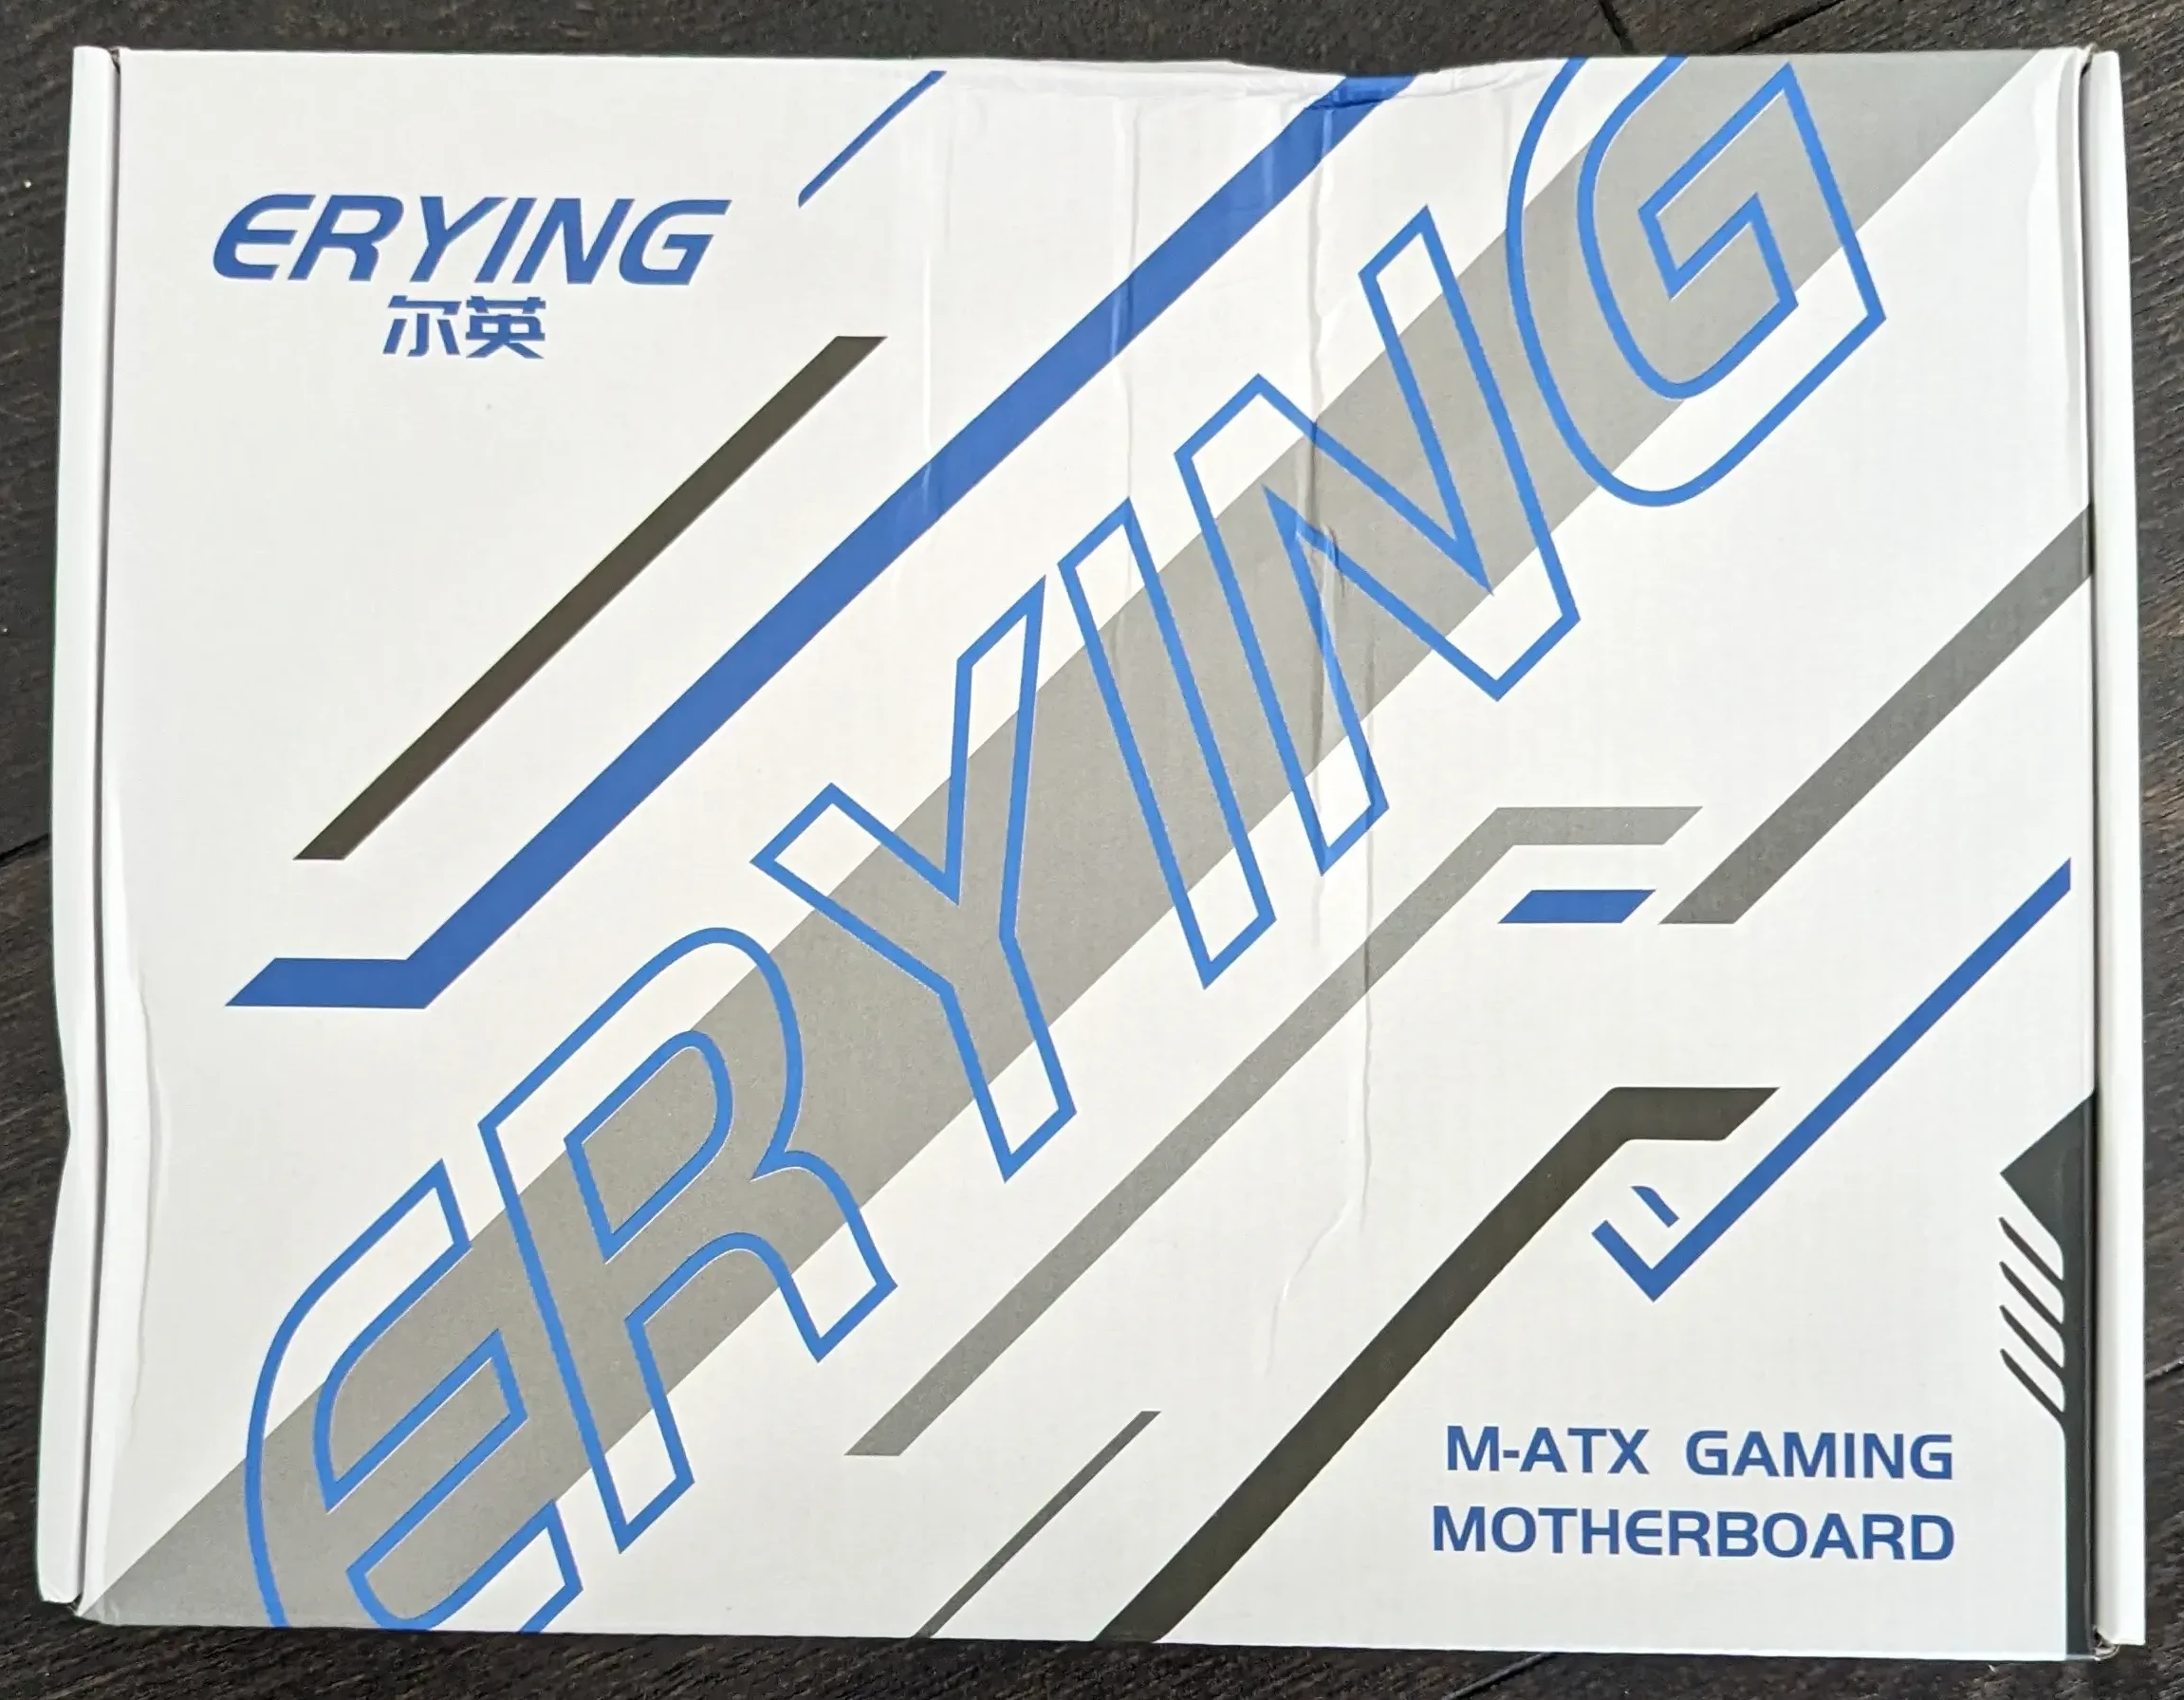
The board arrived. A little beat up from delivery, but still mostly structurally intact. Hopefully, what’s inside survived!
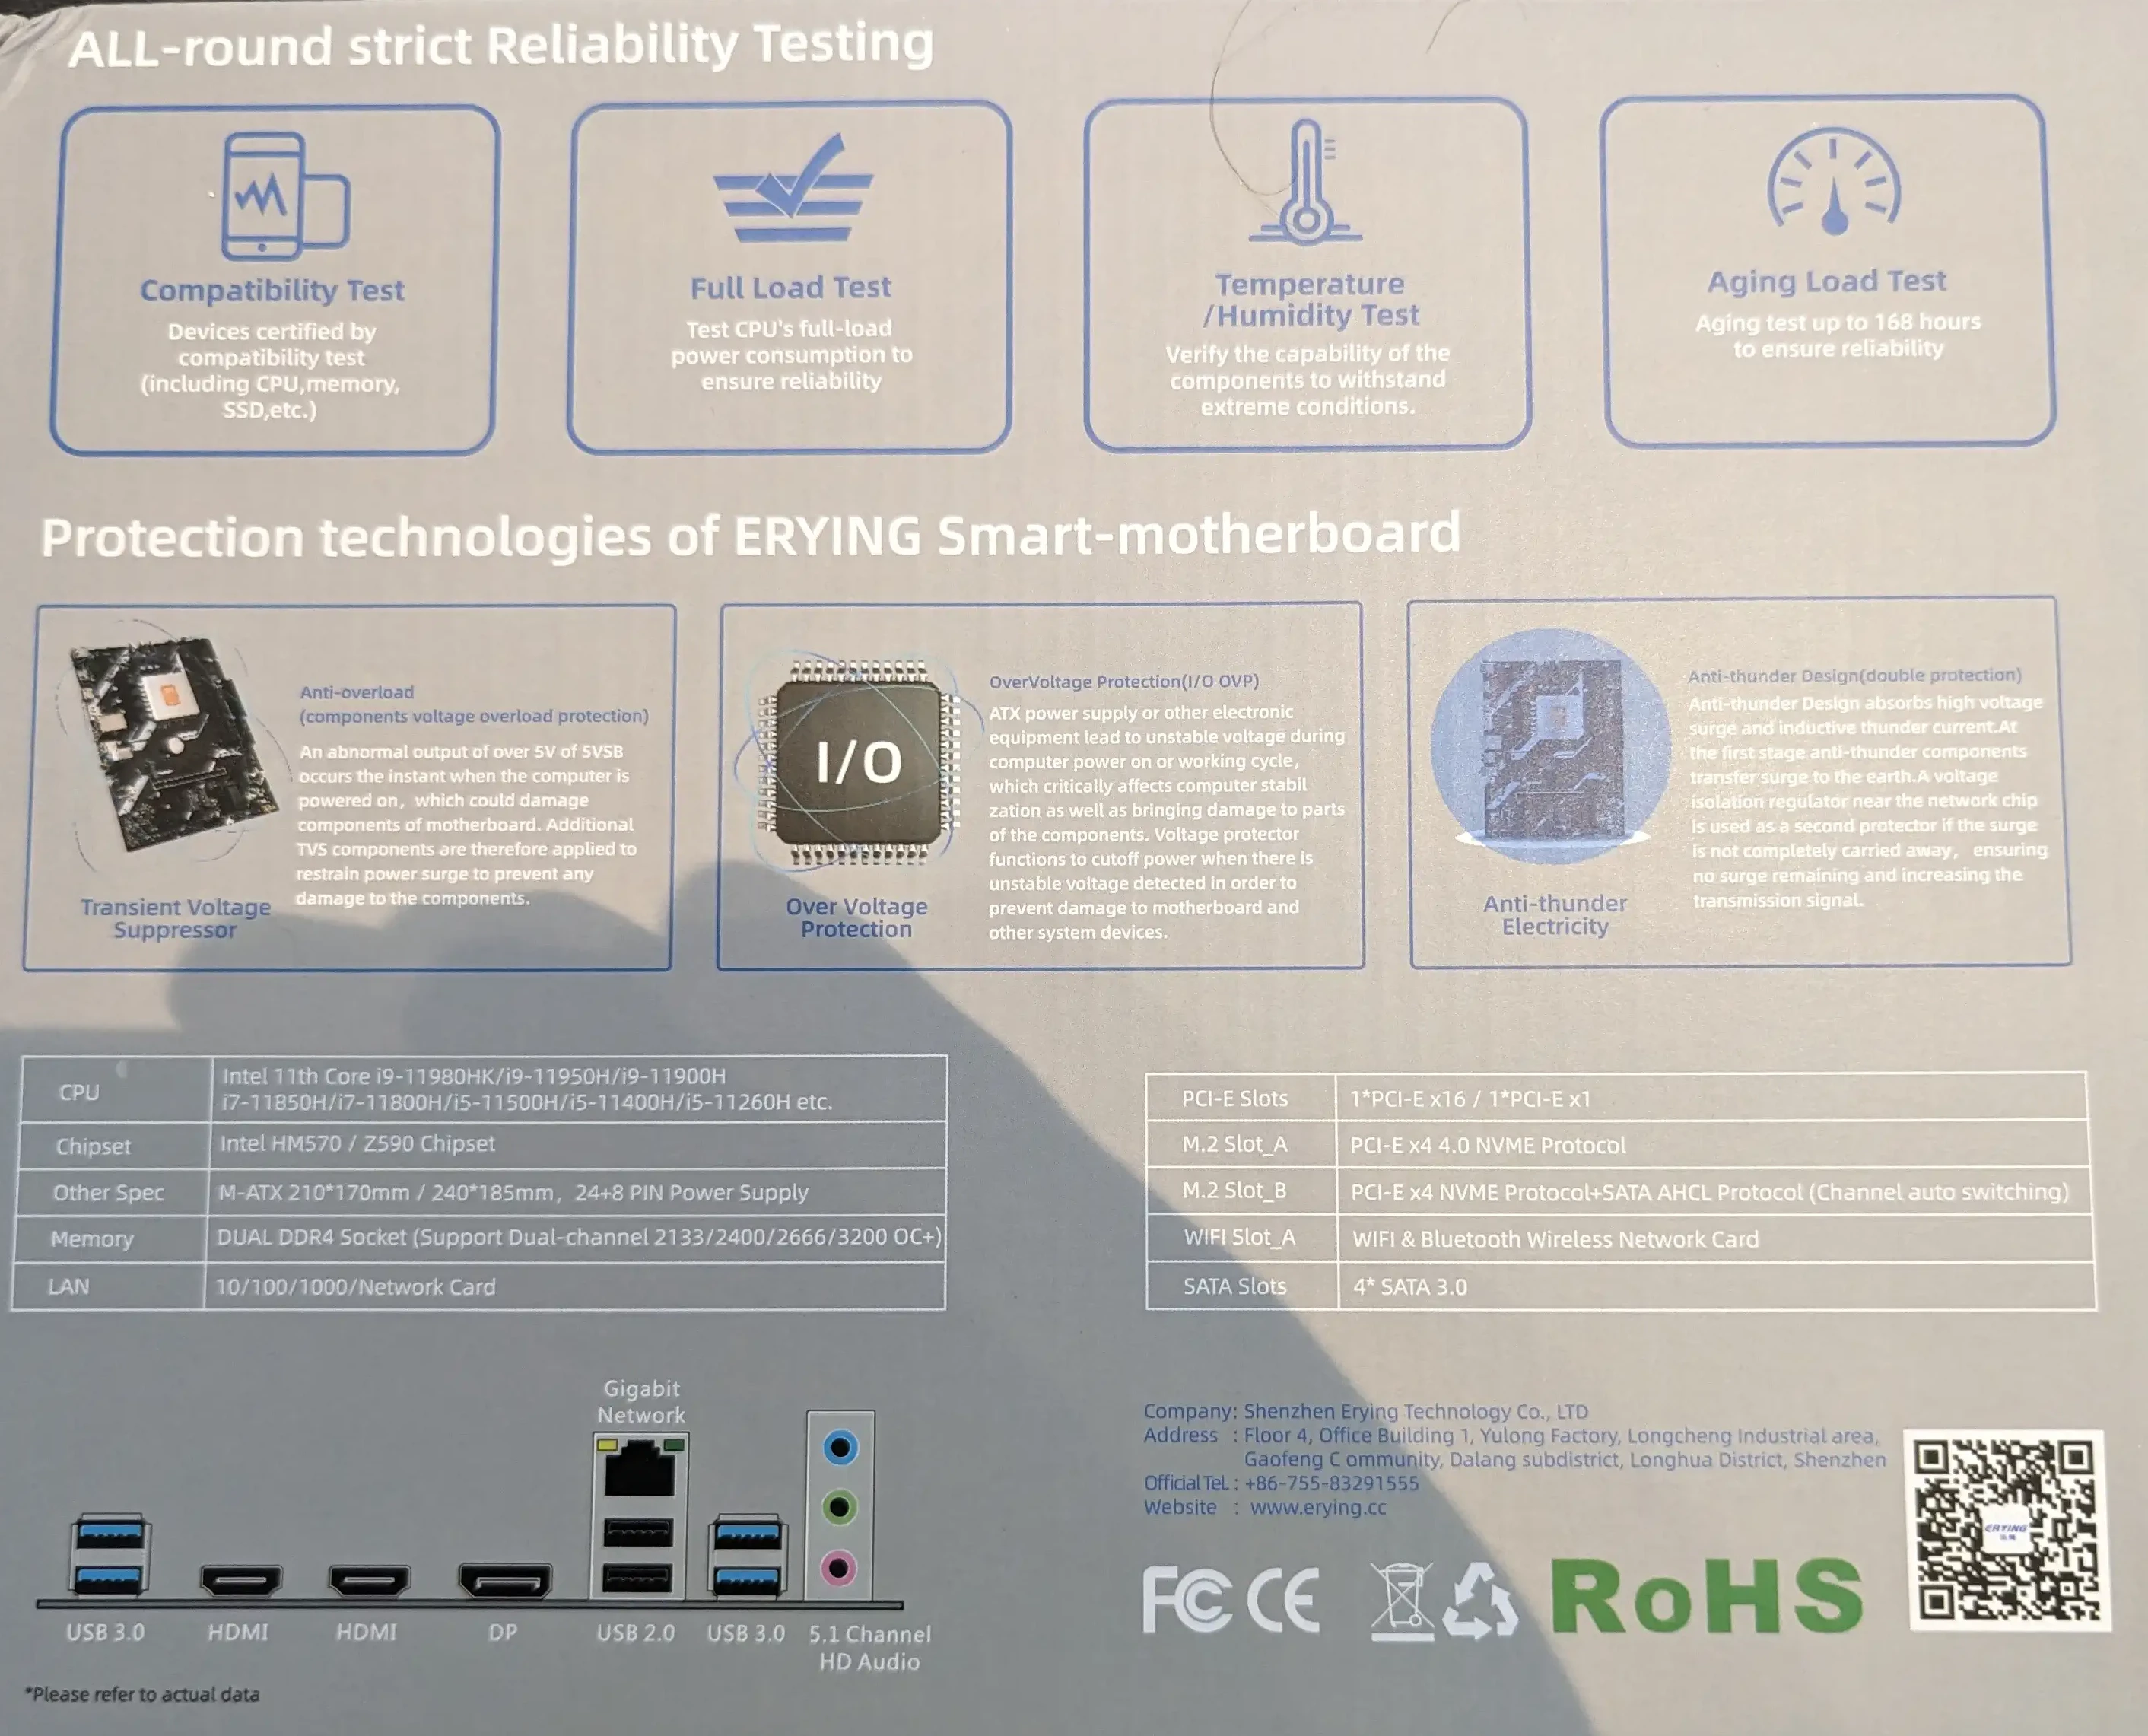
The back of the box makes a bunch of claims about the motherboard. I particularly enjoy the “Anti-thunder Design (double protection)”. Sounds extremely dramatic! Let’s open it up and take a look!
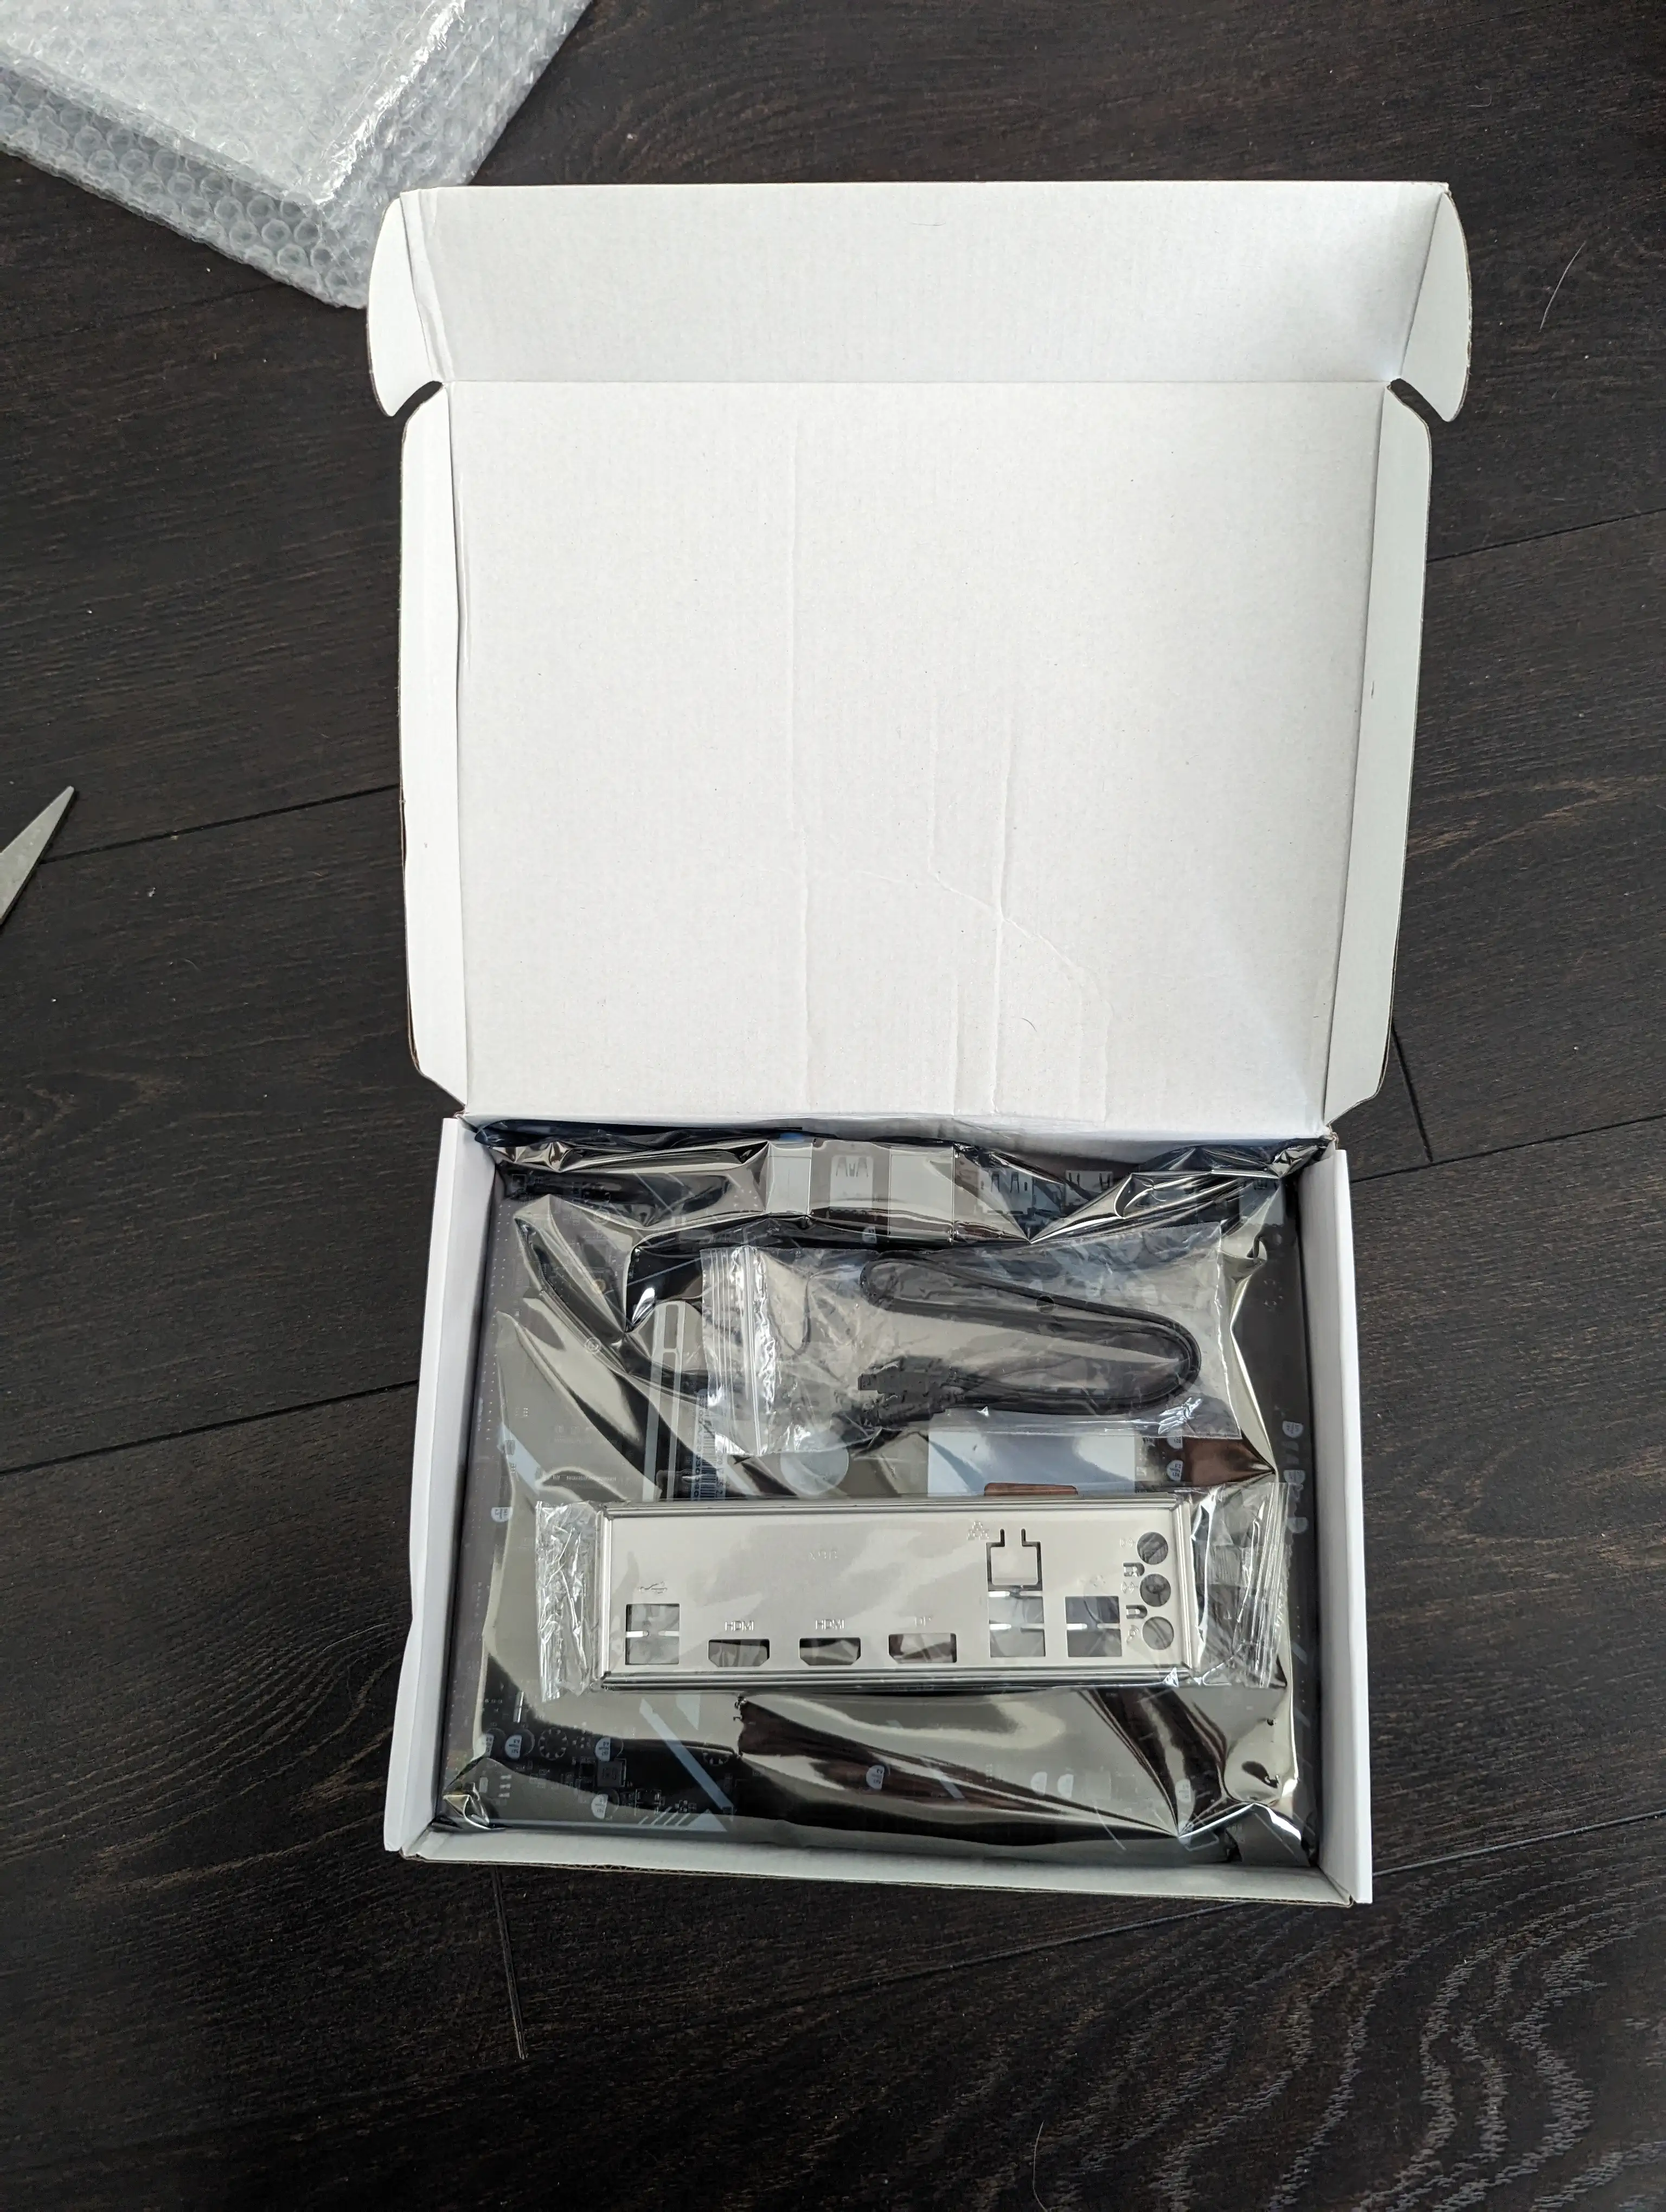
As promised, there’s what looks like a motherboard, an IO shield, a SATA cable, and that’s it! I didn’t even get a manual. Let’s take a closer look at the board.
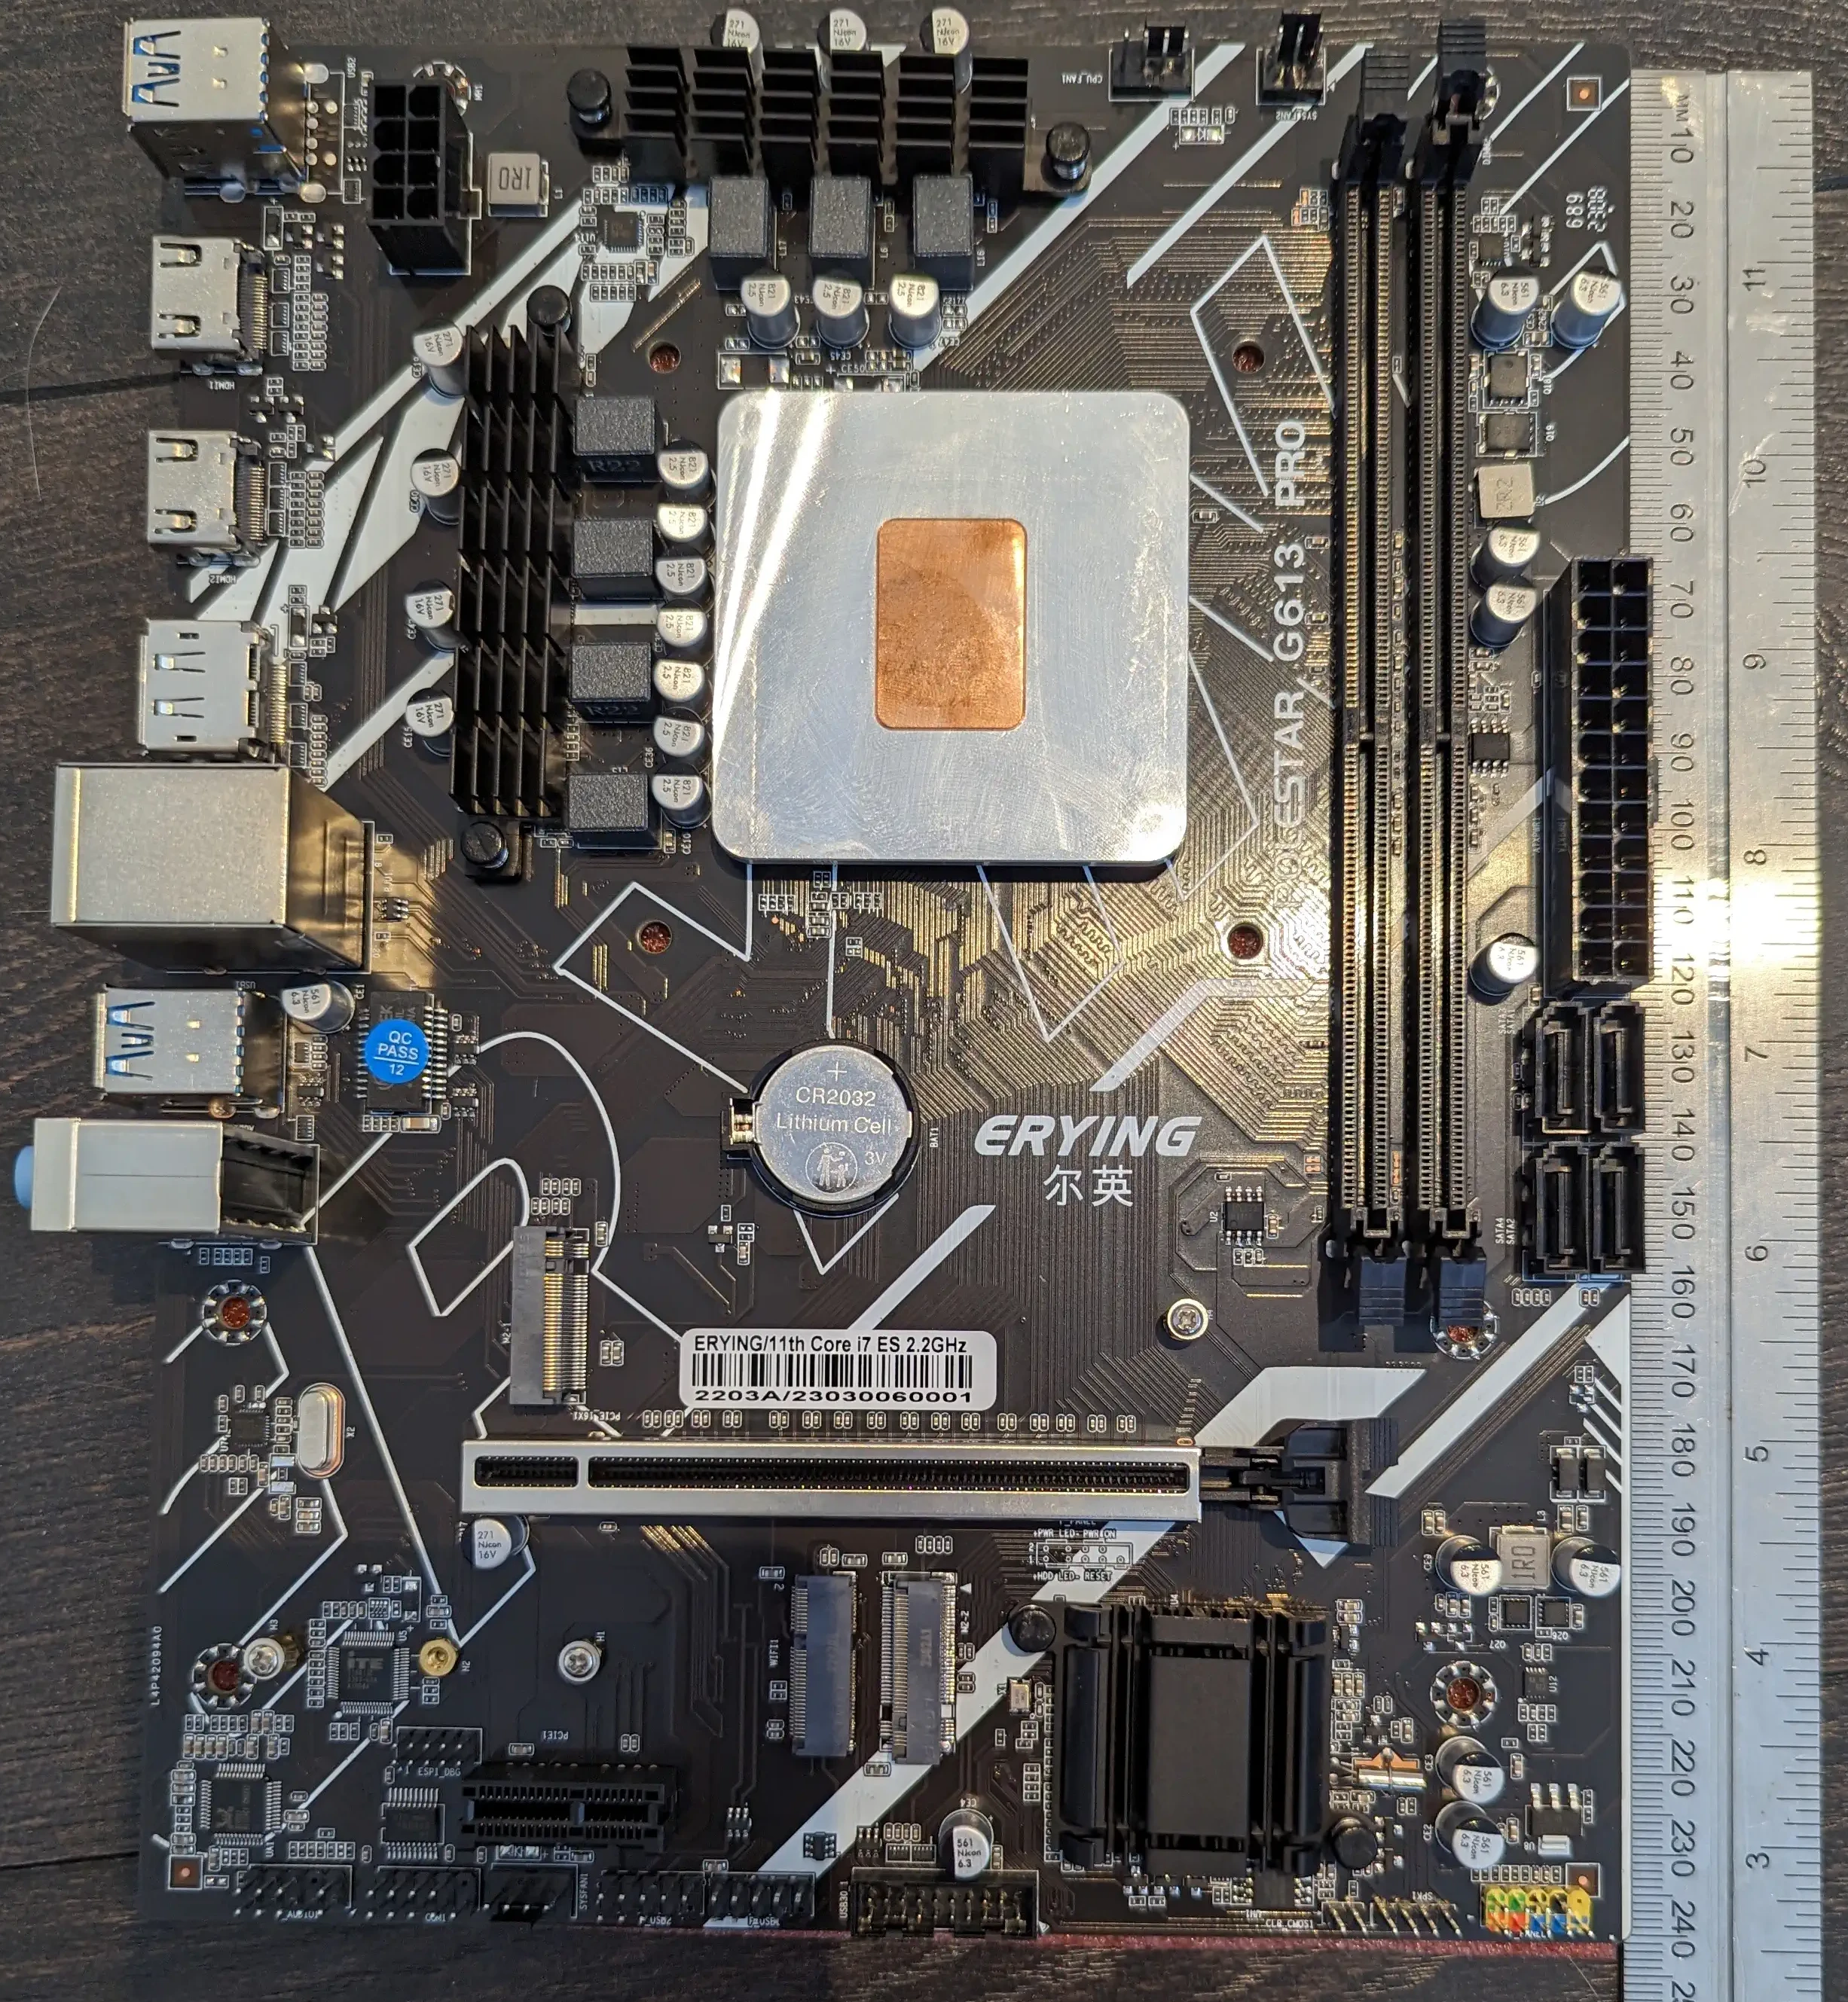
Interesting! We have a somewhat unusual setup here around the CPU, where there appears to be a copper shim between the world and the CPU die itself. This’ll be because mobile CPUs don’t usually have Integrated Heat Spreaders like their Desktop CPU bretherenm and silicon dies are very fragile. There’s also a metal plate around the copper shim to hold the it to the die at some pressure. The mounting holes for the CPU cooler appear to be LGA17XX style, so most CPU coolers will fit to the board with no issue. Nothing special is required in this department, given the low power usage of this CPU.
Other points that appear interesting to me are the extremely weedy VRM heatsinks surrounding the CPU socket. We’ll measure those later. Other than this, everything looks in order.
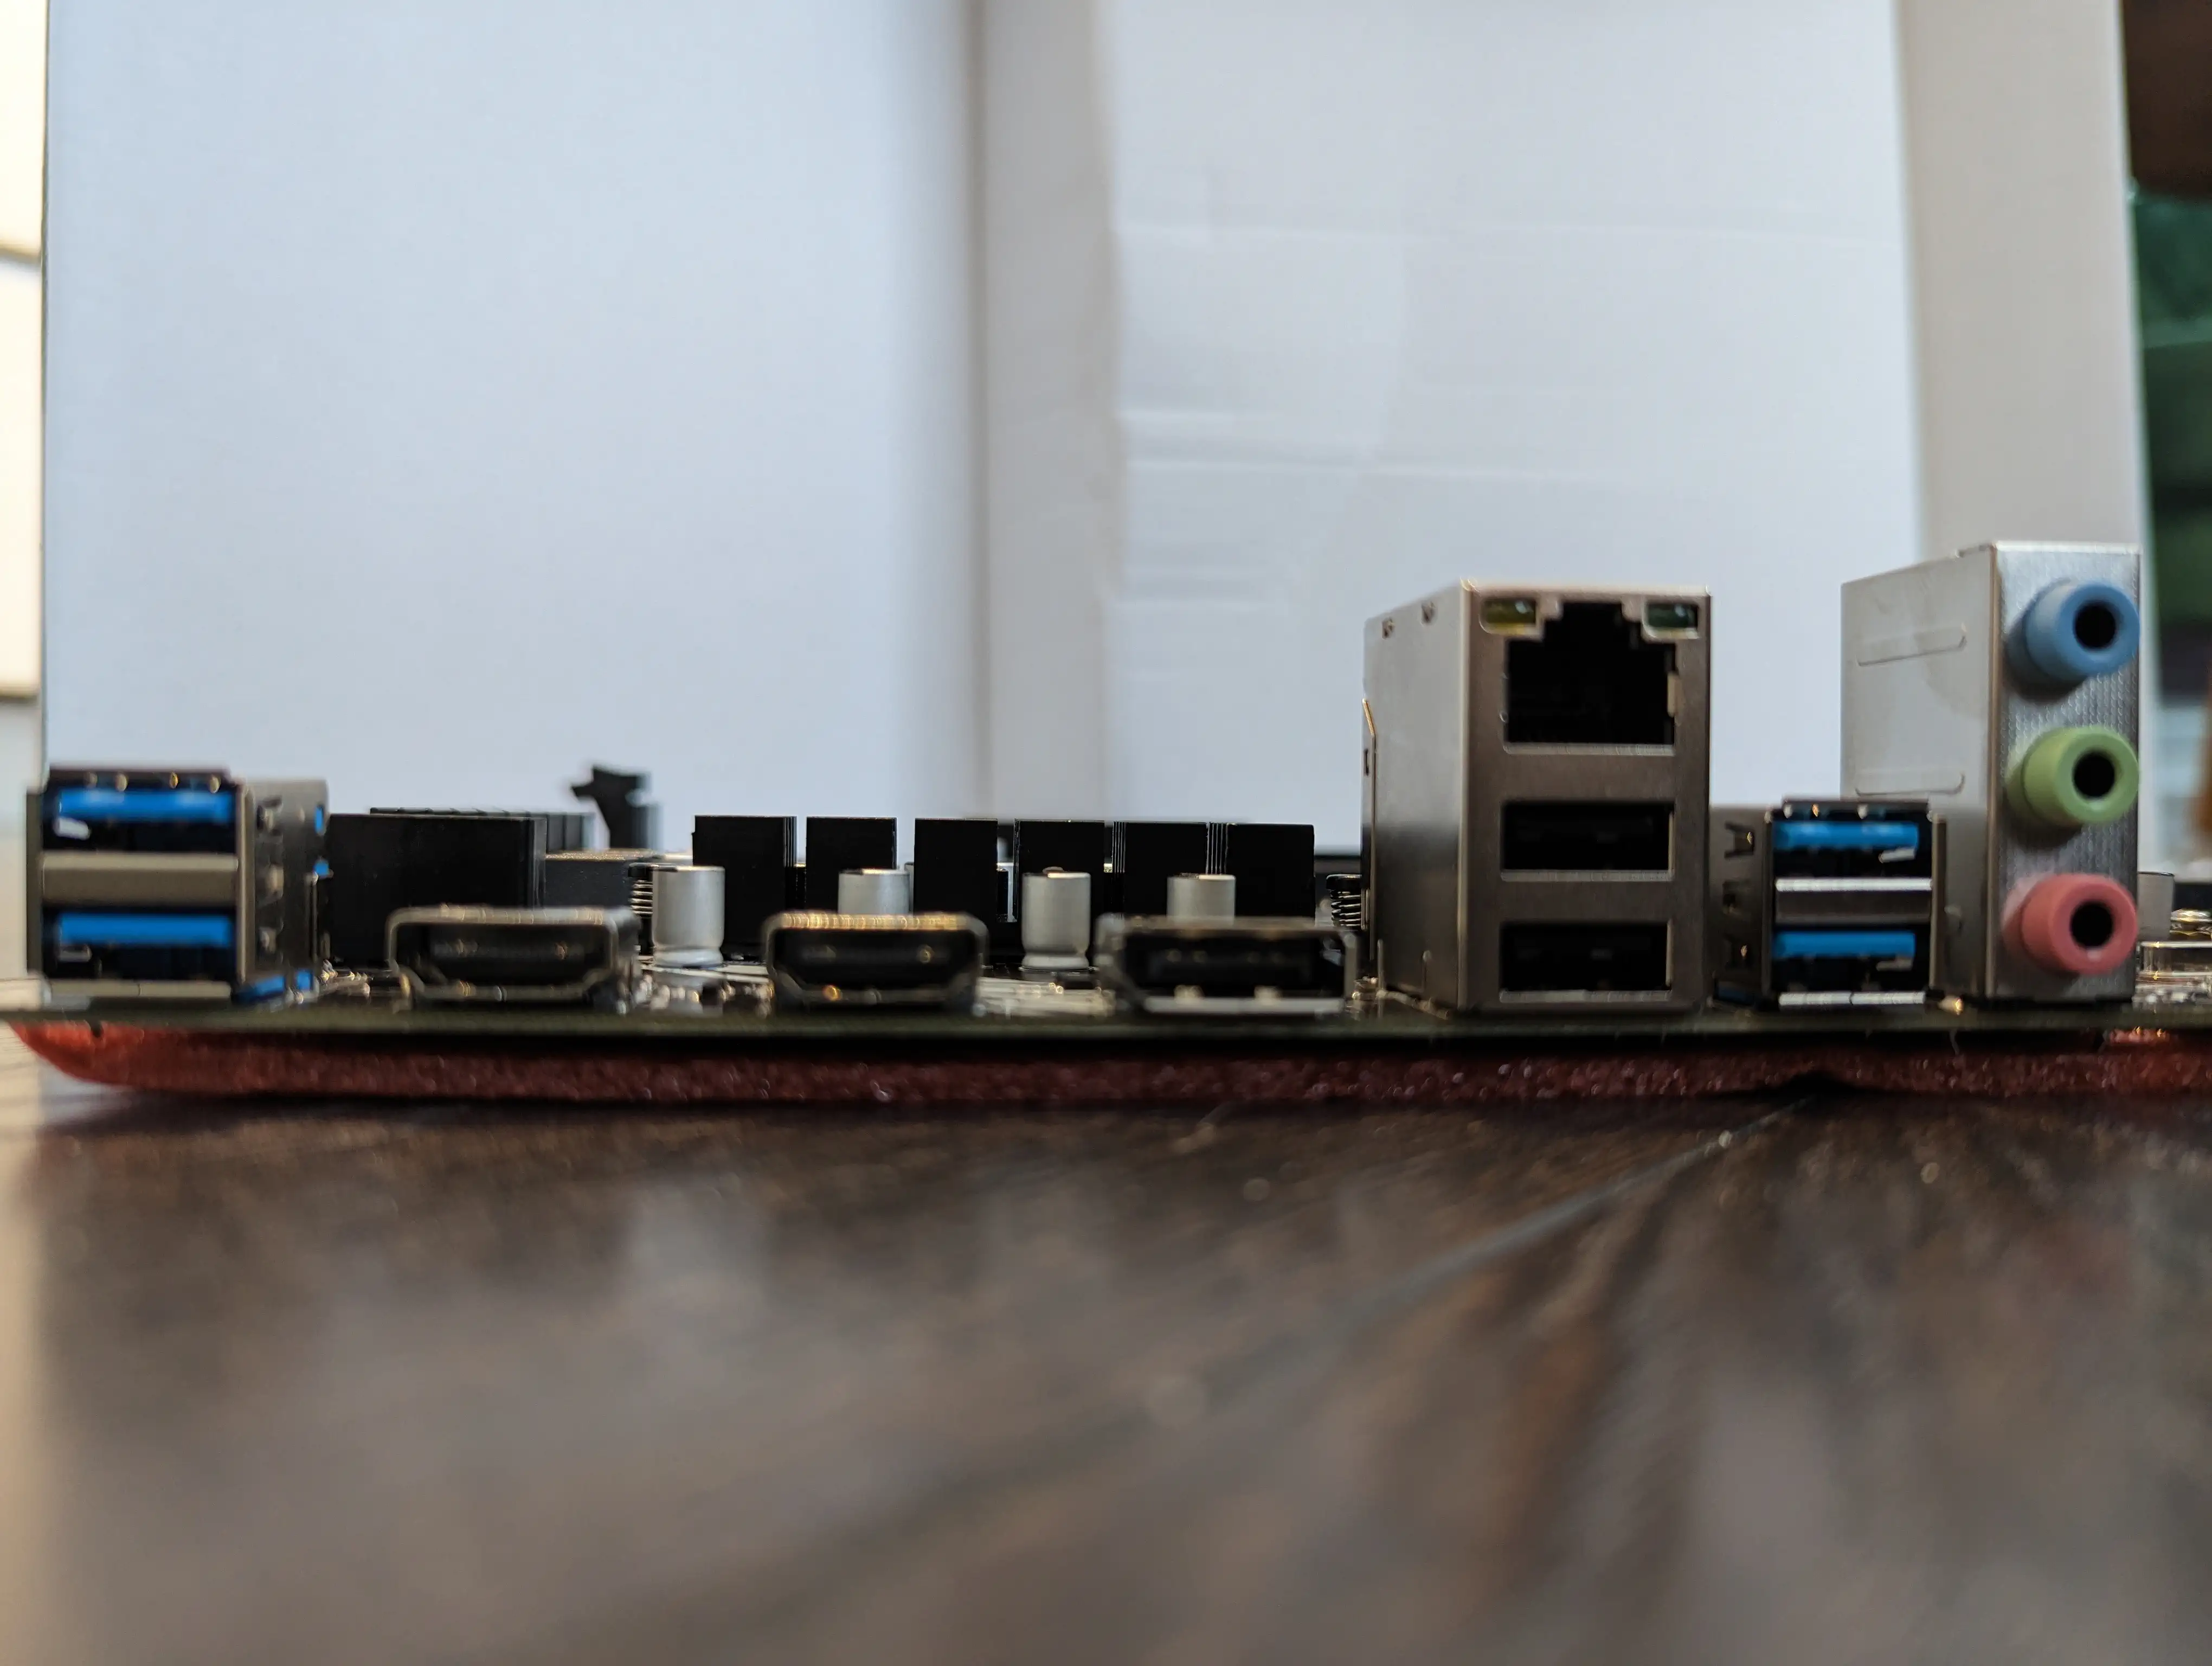
The IO is basic, but it’s all there. You’ve got your four USB 3 ports, two USB 2 ports, a Gigabit Ethernet port, 2x Displayport + 1x HDMI so you can use the onboard GPU, if you wish (this CPU features Intel HD 630 graphics). There’s also audio jacks.
The build
I decided to throw it into a spare case I had, and upgraded some components in my main desktop to free up some parts for this build. It ended up being the following:
- DEEPCOOL Macube 100 case
- DEEPCOOL Gammaxx 400S CPU Cooler with 4-Heatpipes (overkill, but the cheapest at the time!)
- 32GB Corsair Vengeance 3200MT/s RAM
- Erying motherboard
- Intel ES 0000 CPU which is pretty much an 11800h
- Sapphire AMD Radeon 6700xt GPU
- Sabrent Rocket 1TB NVME SSD
- 2x Toshiba N300 4TB Hard Drives
- Seasonic Core GC-500w PSU
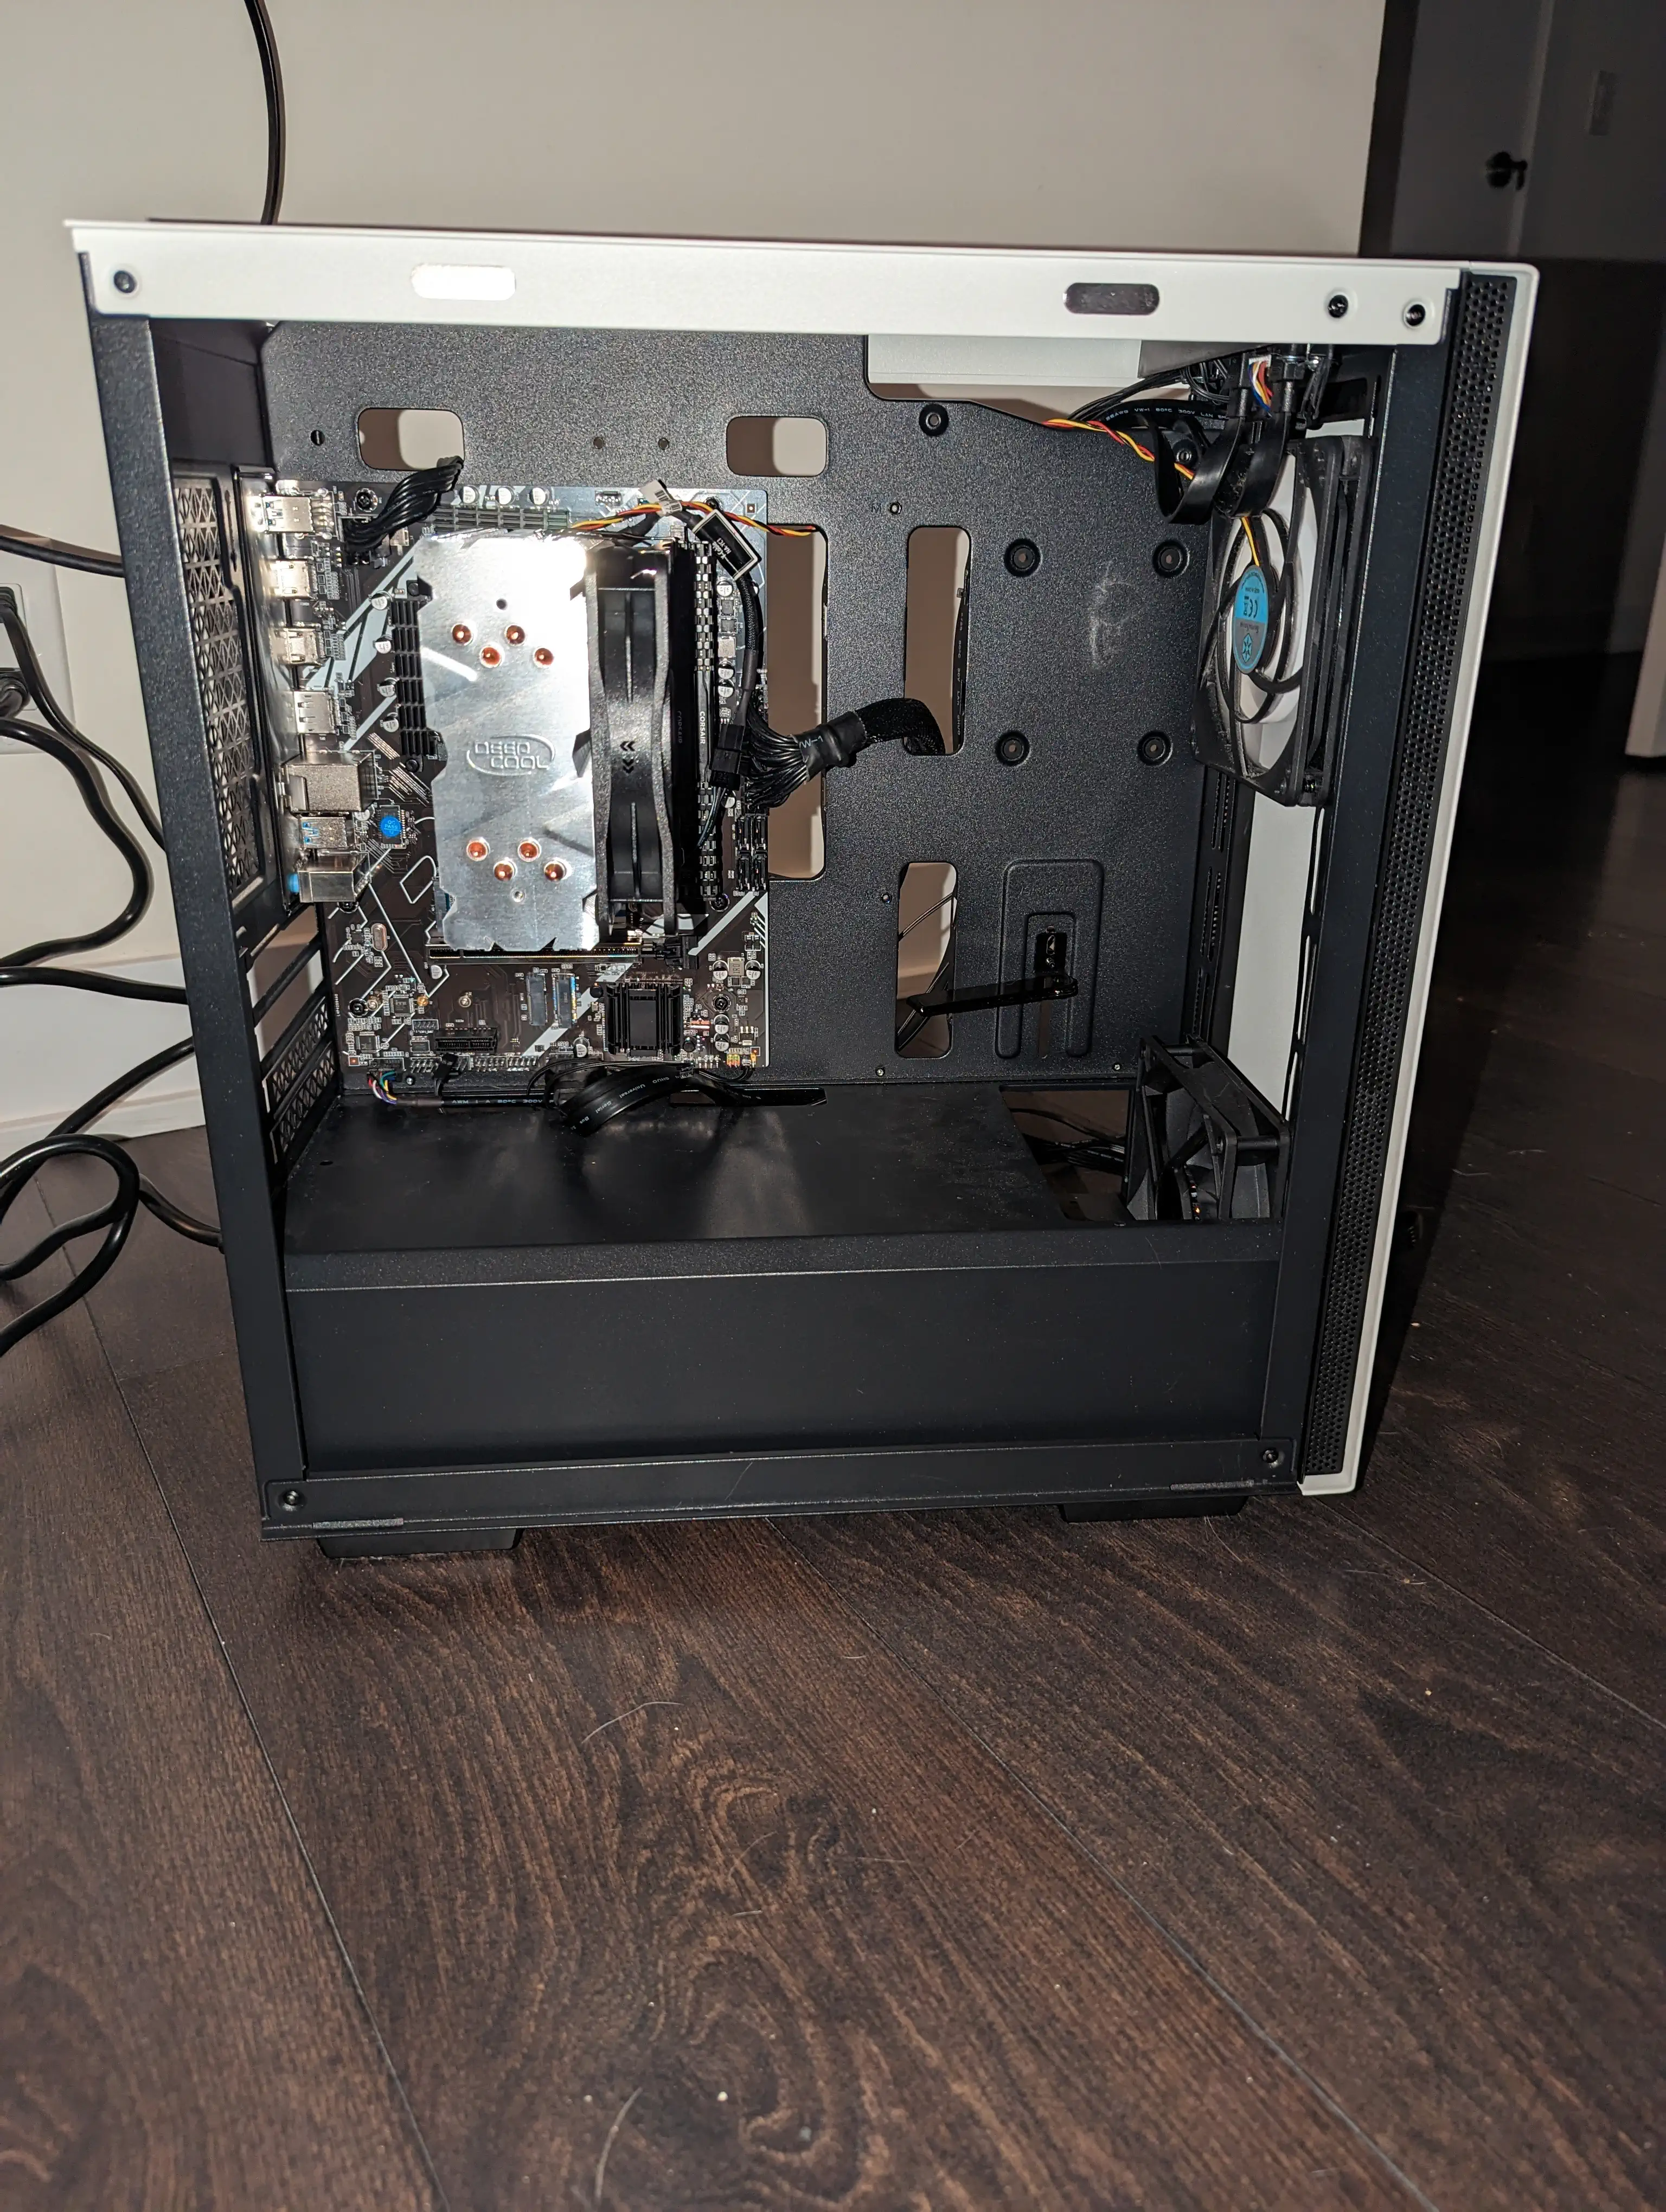
The lack of manual posed a bit of a challenge, since I didn’t know where to connect the power switch! They hadn’t labelled the ports on the motherboard, nor was there any documentation on the internet I could find. Thankfully /r/EryingMotherboard came to my rescue, and I was able to continue.
After I hooked it up to my TV for testing, I was somewhat surprised to see it boot! Then, I remembered that the SSD I used already had an OpenSuSE Tumbleweed install present, since I’d migrated it from this SSD to a new one, so naturally it immediately booted to that.
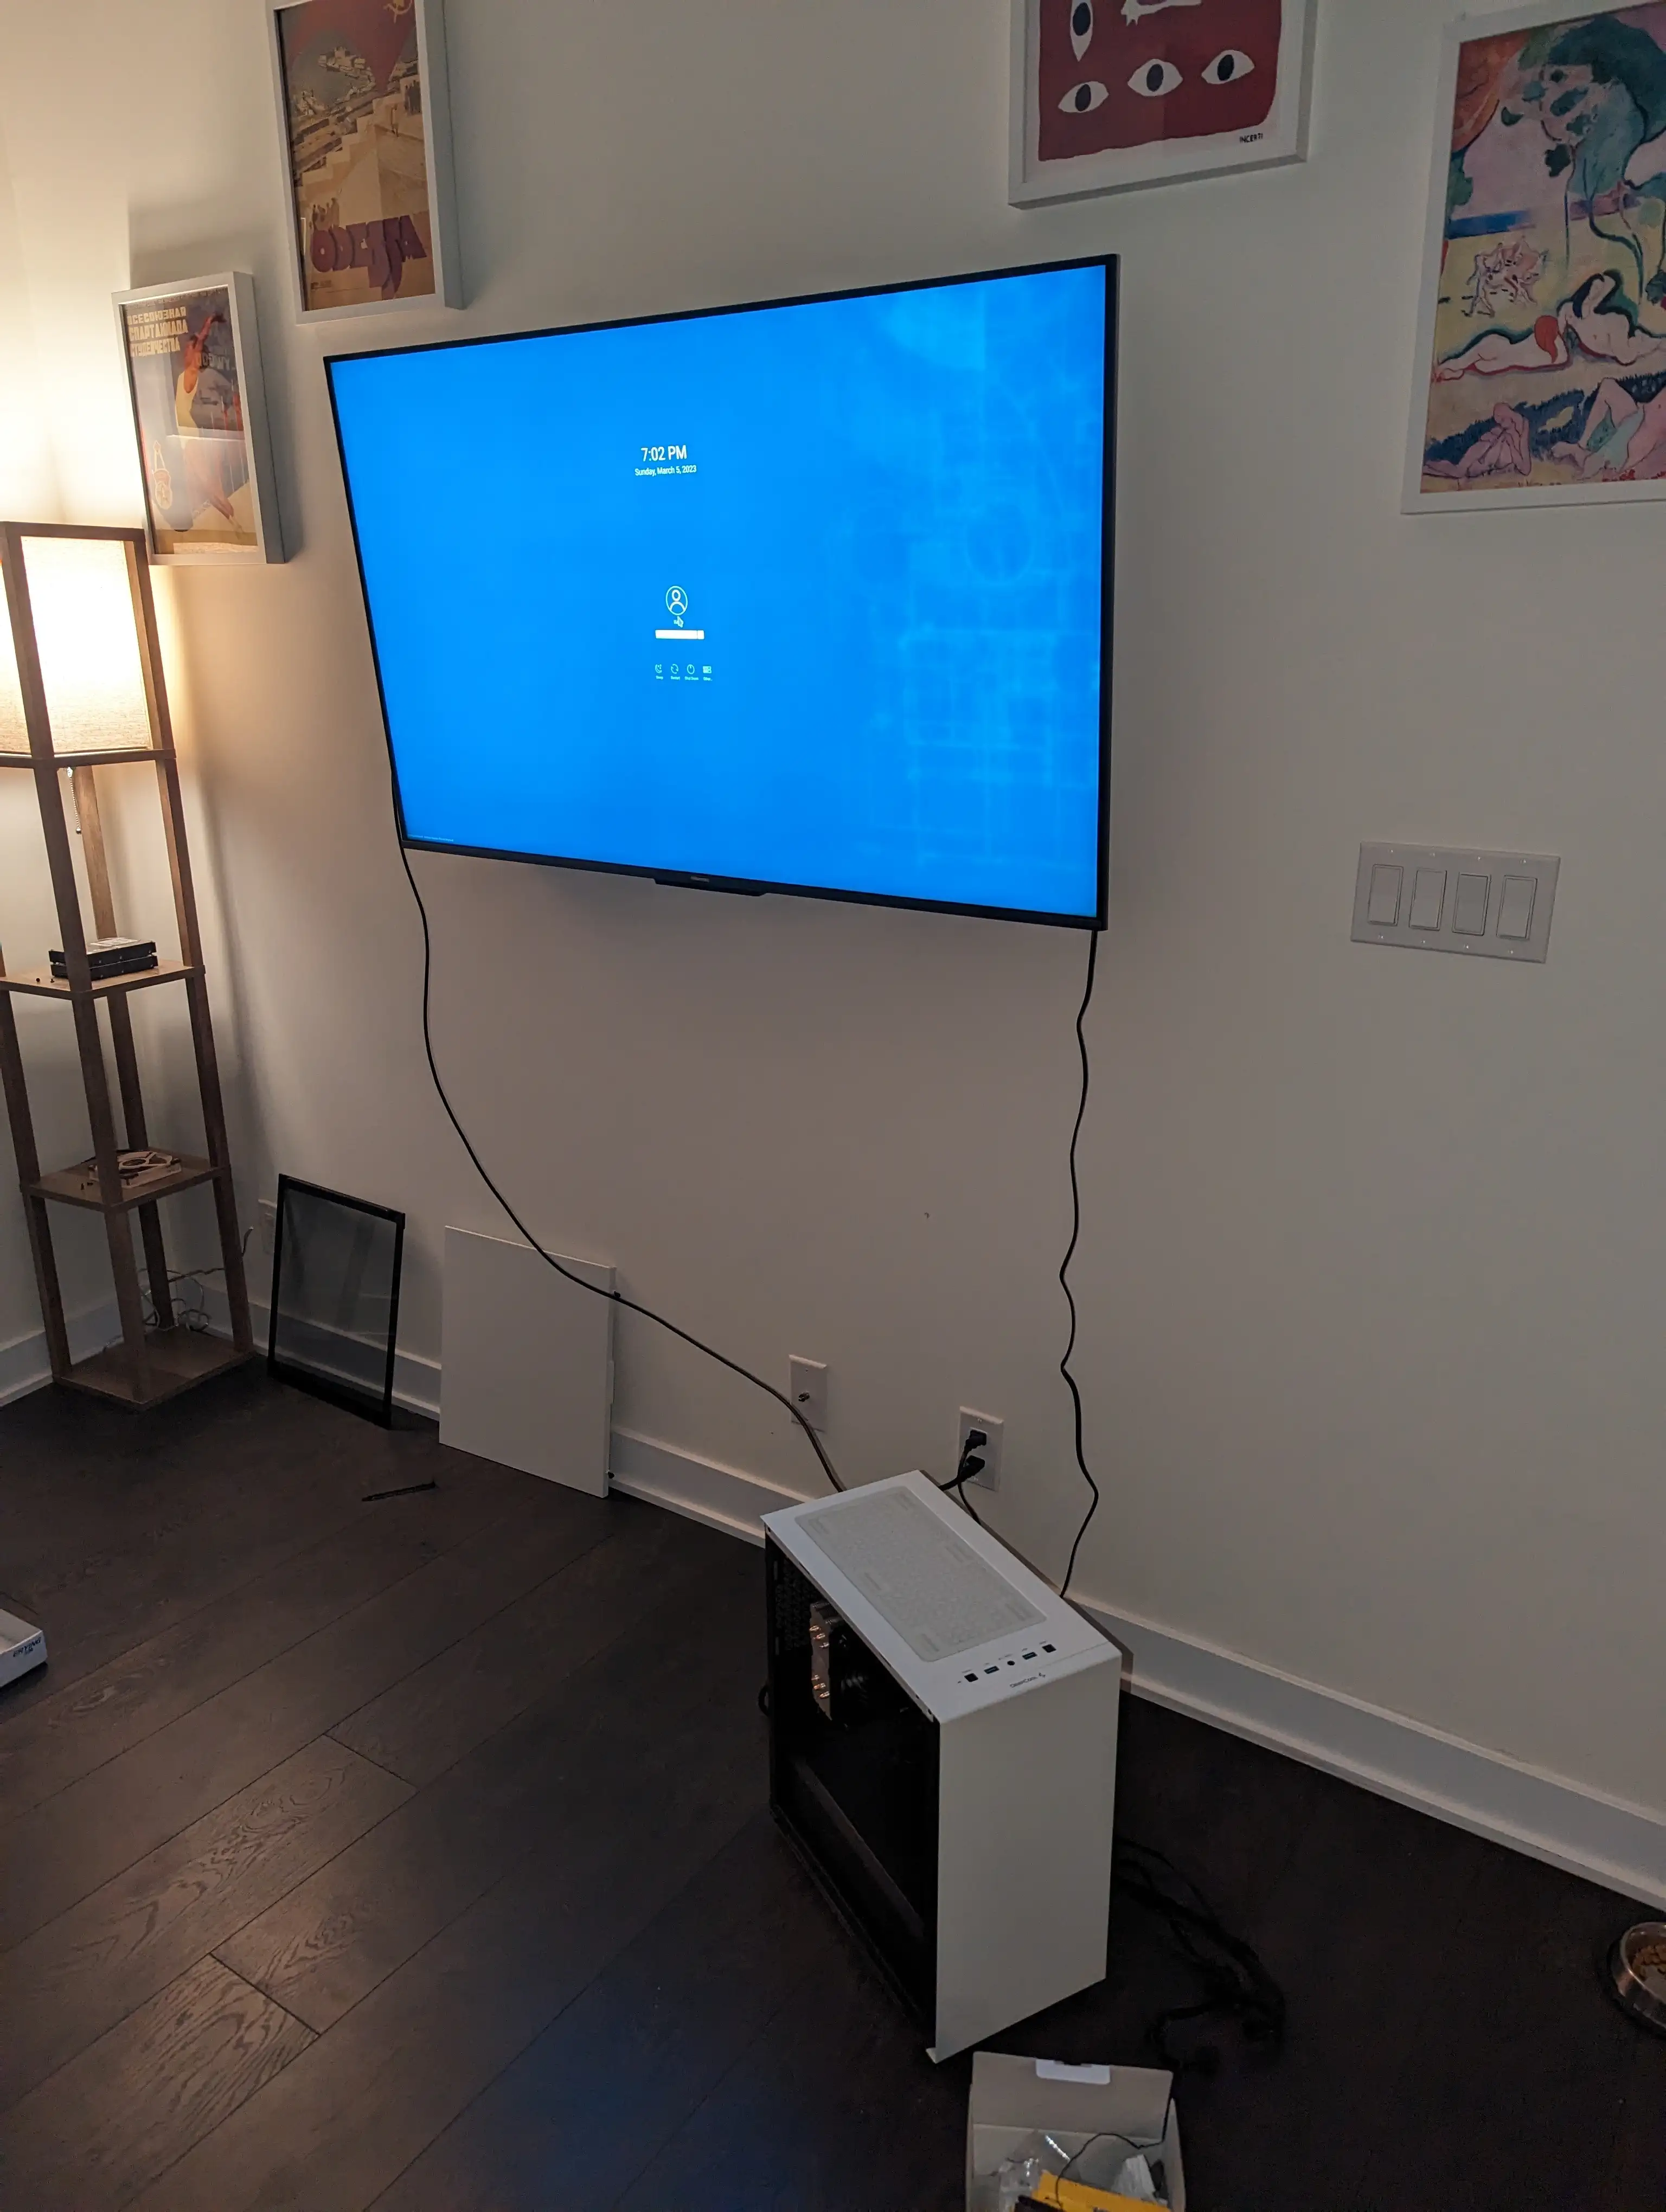
Now I’d confirmed the board worked, it was time to set it up properly, and get it into service!
The Scary BIOS update
The seller offered me a “more powerful” BIOS, but I had no idea what “more powerful” meant exactly. When I asked for further clarification, the seller directed me to a Microsoft Onedrive link that seemed a little sketchy, but I decided to take a risk and download it. The ZIP file contained instructions to flash an included BIOS, but they were in Chinese. I was able to translate them with the help of ChatGPT (how topical!). I followed the instructions and was presented with a screen of scrolling text that lasted about 10 minutes. Eventually, the board rebooted, and I was relieved to see that the BIOS had been successfully updated. It was a bit of a nerve-wracking experience, but I’m glad it worked out in the end.
Let’s take a look at how the BIOS looked before and after the flashing process. Let’s first look at the before photo:
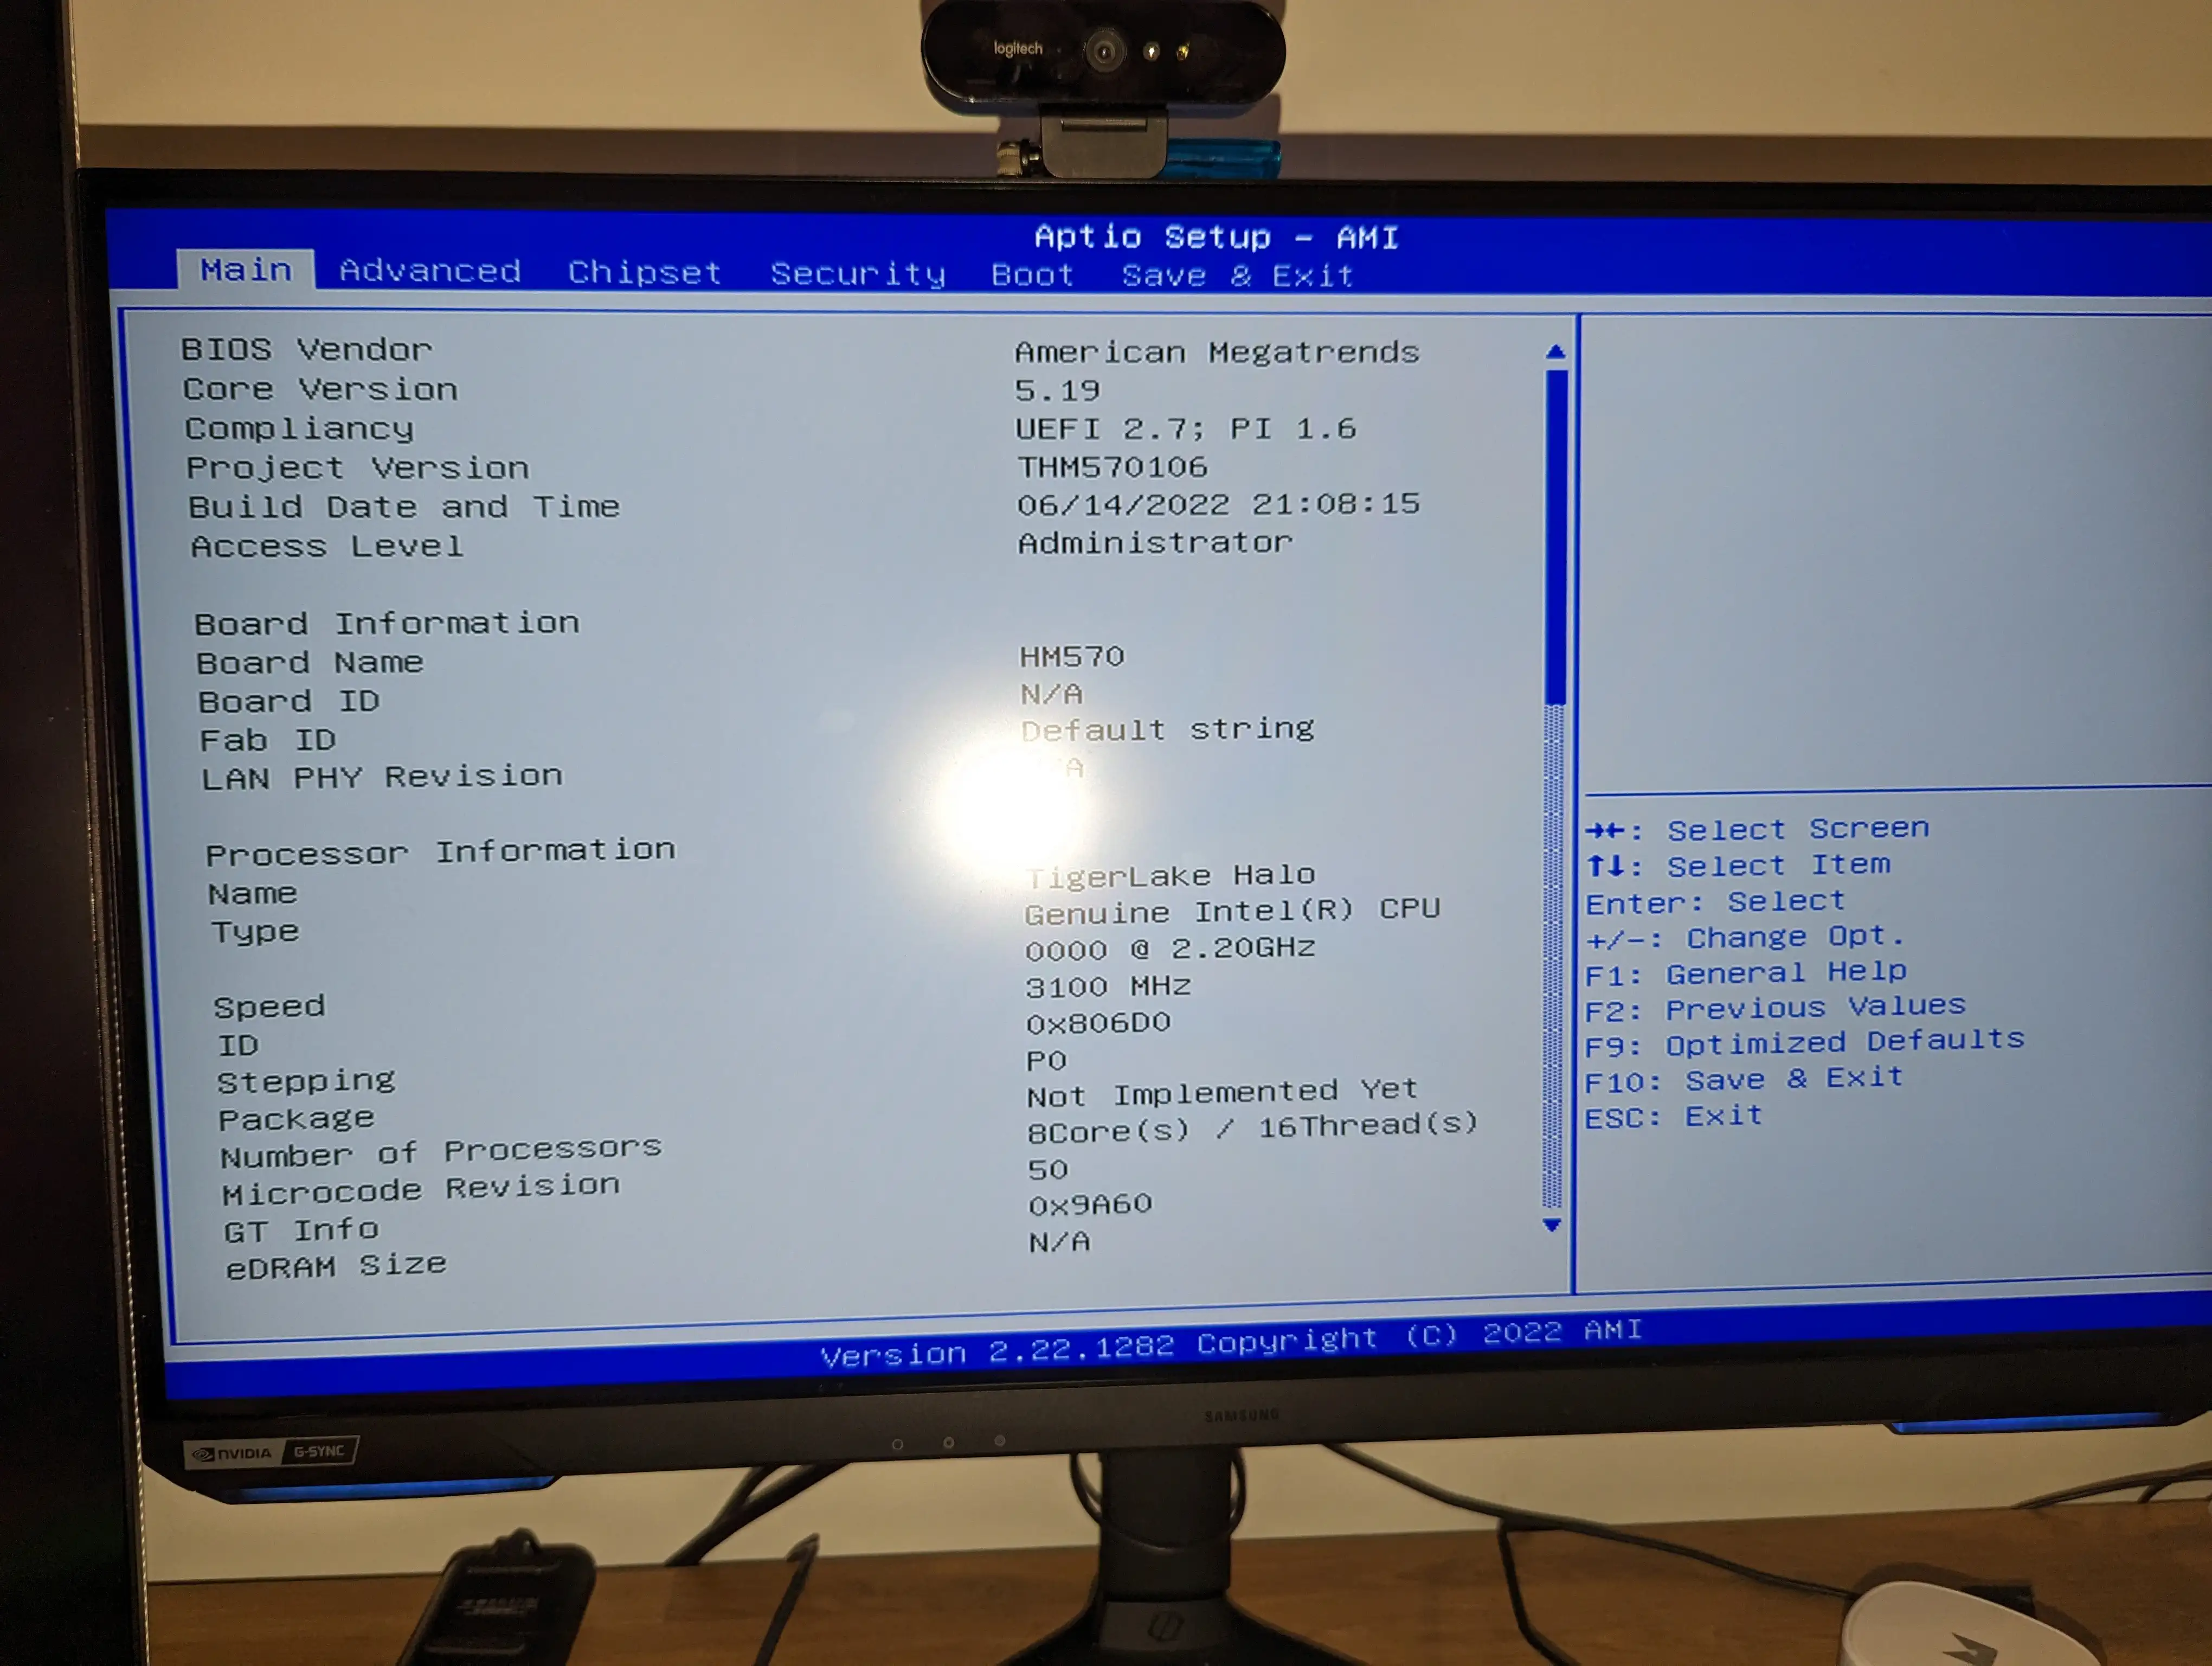
As yes, old familiar. Blue borders with large grey areas with black text. Incomprehensible settings. Press F10 to Save and Exit. Everybody who has tooled around with a BIOS has probably seen this one. How quaint. Now let’s take a look at the “more powerful” BIOS.
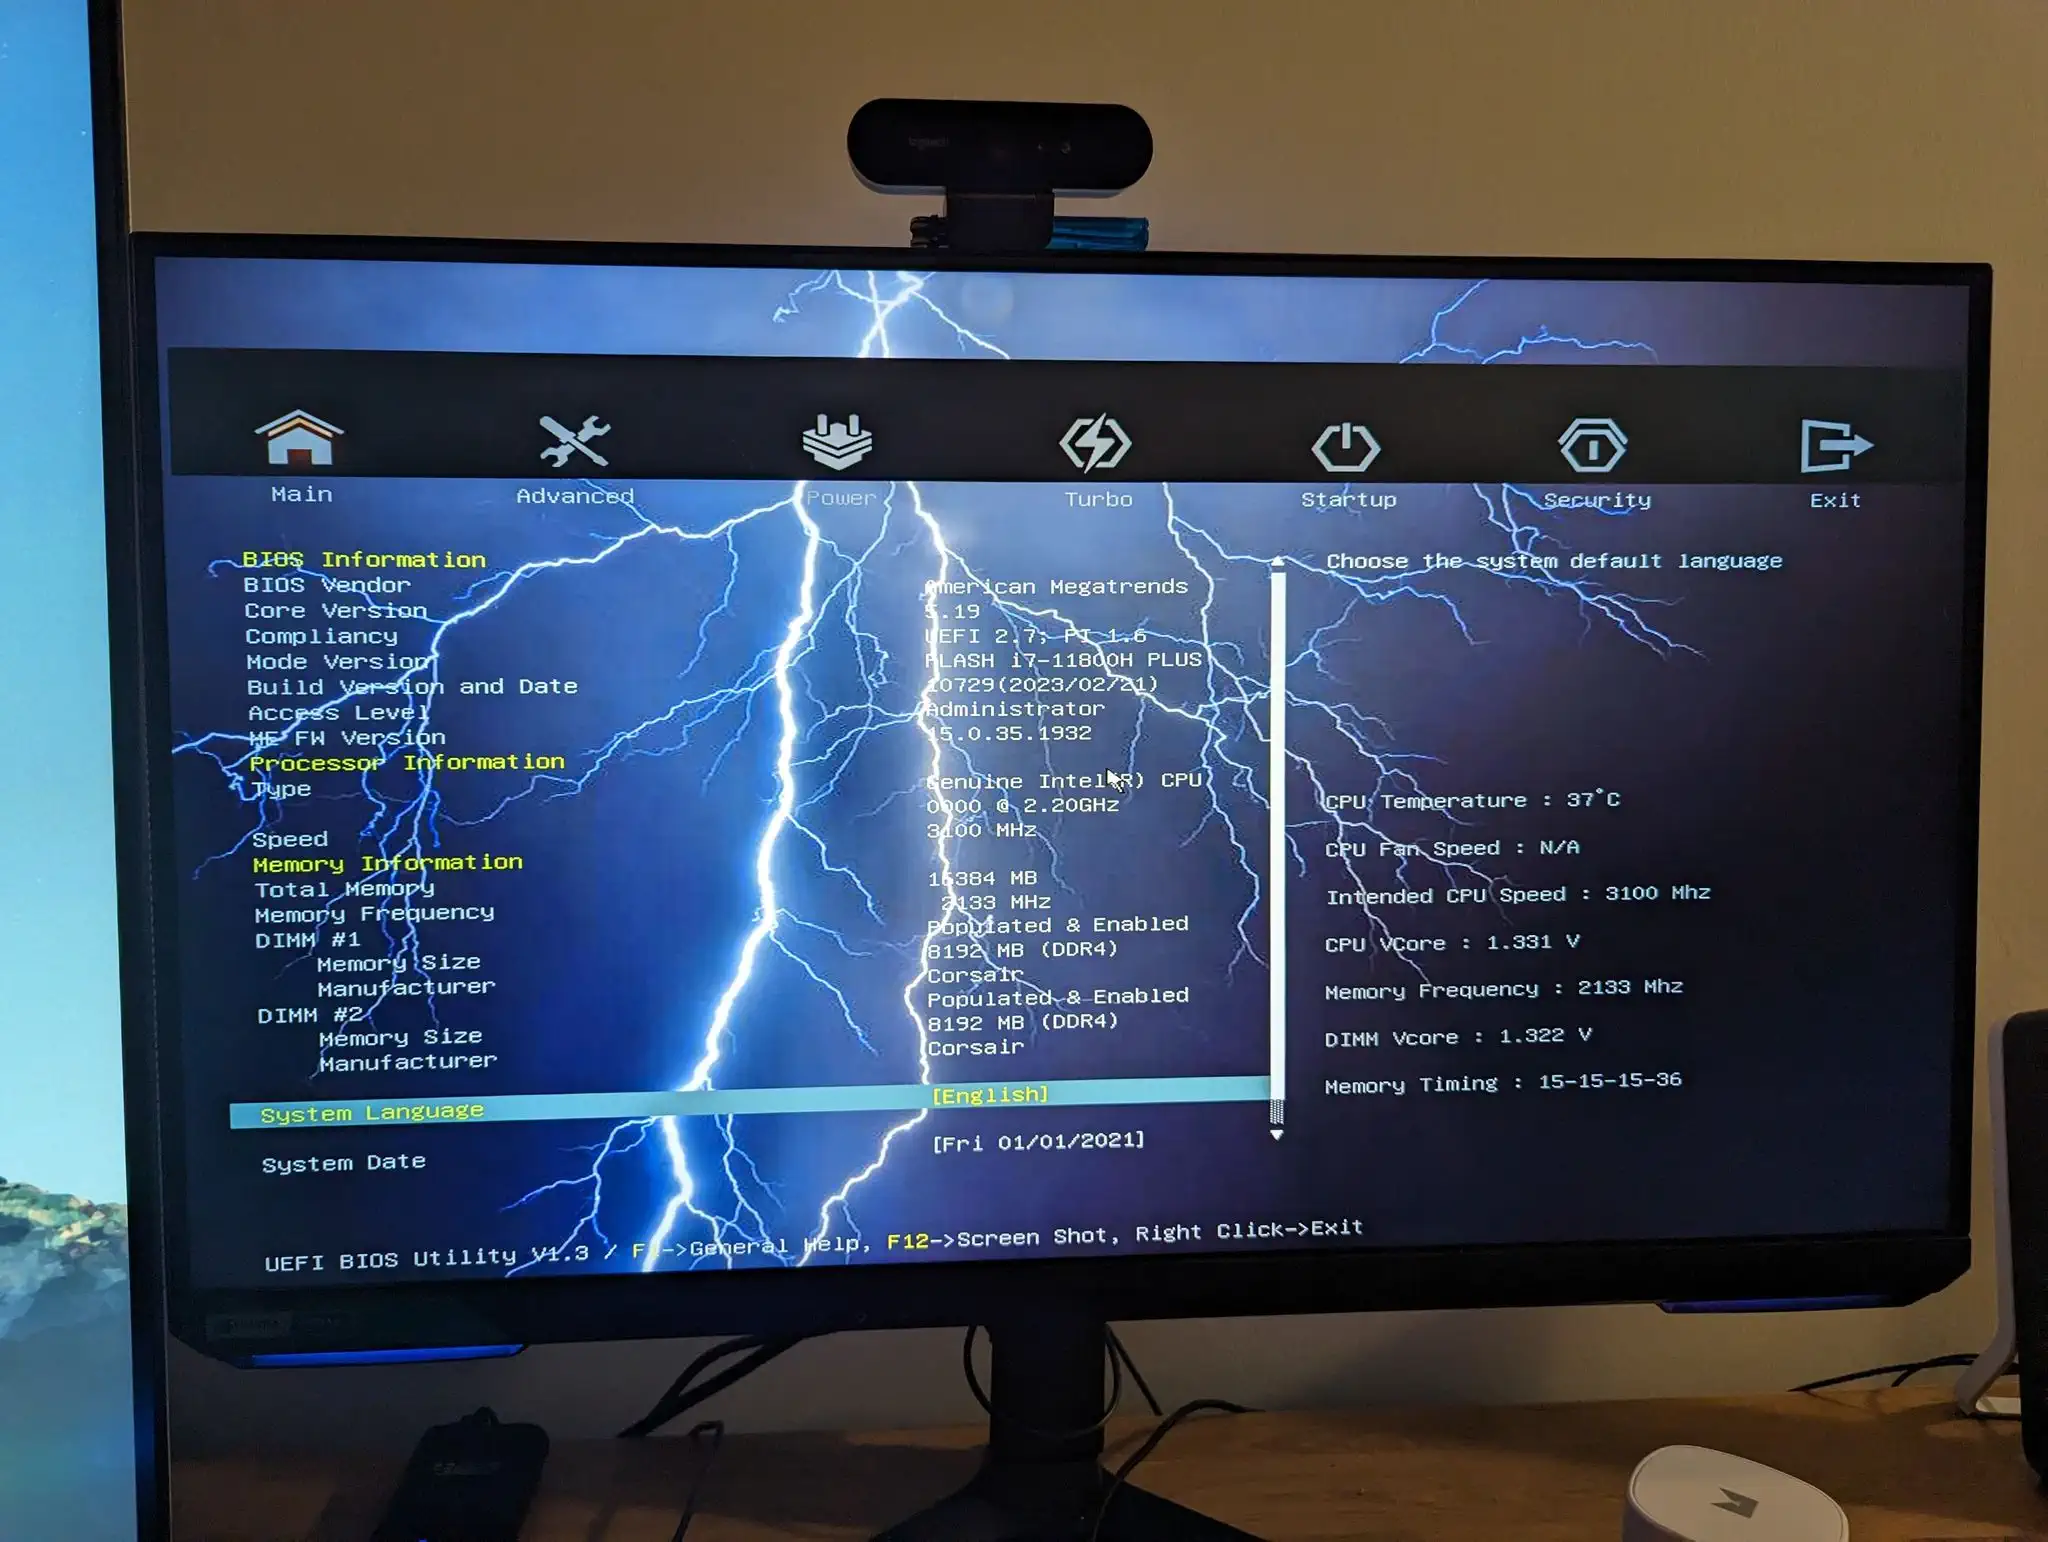
Whoa! Now there’s LIGHTNING in the background that makes portions of text unreadable! That IS more powerful looking! I Love it. As to what other changes were made, I have no idea. Oh well!
Bios configuration
Through tooling around in the BIOS, I was able to get my RAM to run at a maximum of 2933 MT/s, but no higher. For some reason, this board would NOT let me go to 3200 MT/s no matter how much I messed around with memory timings, but whatever, no big deal. I also enabled Intel VT-d, Intel Virtualisation, and IOMMU - all technologies related to virtualisation that are essential for what I’m about to do with this system. I did not however enable Resizable BAR, since this caused issues which I’ll elaborate on later.
Proxmox
Next, I installed Proxmox on the system, but I’m going to leave that fun for a second part to this blog post. See you then!
Hacker News | RedditLet me know what you thought! Hit me up on Mastodon at @kn100@fosstodon.org.