Declouding my life - Replacing Google Photos
Over the last couple of years, I’ve been trying to reduce my dependence on cloud services. This is purely ideological, I have no real reason to distrust the cloud, nor am I going to attempt to convince you to. I just made a decision a while ago that all my mission critical/sensitive stuff needed to be moved off of centralised cloud storage. The stories of people losing their Google accounts for practically no reason scare me.
One particularly scary change that happened recently was Google Photos deciding to change their ‘unlimited’ storage plan to not be unlimited anymore. This was obviously going to happen at some point, but frankly I feel like companies need to stop pretending like they can offer unlimited use of something unless they plan to honour that for the lifetime of the service. Either way, I’ve always felt pretty uncomfortable with having my photos being hosted and managed by someone else, so I started to explore alternatives.
Storing the photos
The first problem I had to solve is storing the photos. All in all, after doing a Google Takeout (to get the photos out of Google Photos) - it turns out I have about 50GB of media. A lot of it is crap for sure. I didn’t want to store these files on my main computer, since I regularly wipe and reinstall the operating system on my main computer, and therefore having to shift 50GB of data around to avoid wiping it would prove to be a pain. I also don’t back the entirety of my computer up, given I feel no need to. I back up the most important stuff, and that is it.
The solution I came upon was a NAS. I ended up purchasing the Terramaster F2-210 NAS. It’s pretty much one of the cheapest NAS units one can get here in the UK, costing me around 100 GBP. I also picked up 2 4TB Toshiba N300 drives, being the cheapest CMR drives at that size range you could get. You absolutely should make sure you don’t end up with SMR drives, they’re inappropriate for this sort of use case and your NAS performance will suffer. To understand why, read this excellent blog post from ServeTheHome. If you need larger CMR drives, maybe consider the large 8GB Toshiba N300 drive or if money isn’t too much of an issue they go all the way to 14TB. The 4TB drives I got were around 100 GBP each, bringing the total cost for this setup to around 300GBP. Not cheap, but given I had no decent redundant storage, I felt it a price worth paying.
This particular NAS is an ARM based unit, with a ARM V8 64-bit quad-core processor, with a frequency of up to 1.4 GHz, 1GB of RAM, and comes running Terramaster OS, which seems to just be a pretty light distribution of Linux. I’d much prefer running my own OS on such a unit, but part of the reason I purchased a NAS rather than building my own was I wanted something that “Just worked” out of the box. It’s got two hard drive bays, and supports both EXT4 and BTRFS for the underlying file system.
If you’re going deeper down this rabbit hole and want something a bit more extreme, you could get one of the Intel 5 bay NAS units, Like the Terramaster F5-220 unit which sports an Intel processor which will be significantly faster, and some are even experimenting with running FreeNAS on this unit!. These Intel based NASes may even come with the possibility of RAM upgrades, as well as some interesting hardware hackability possibilities.
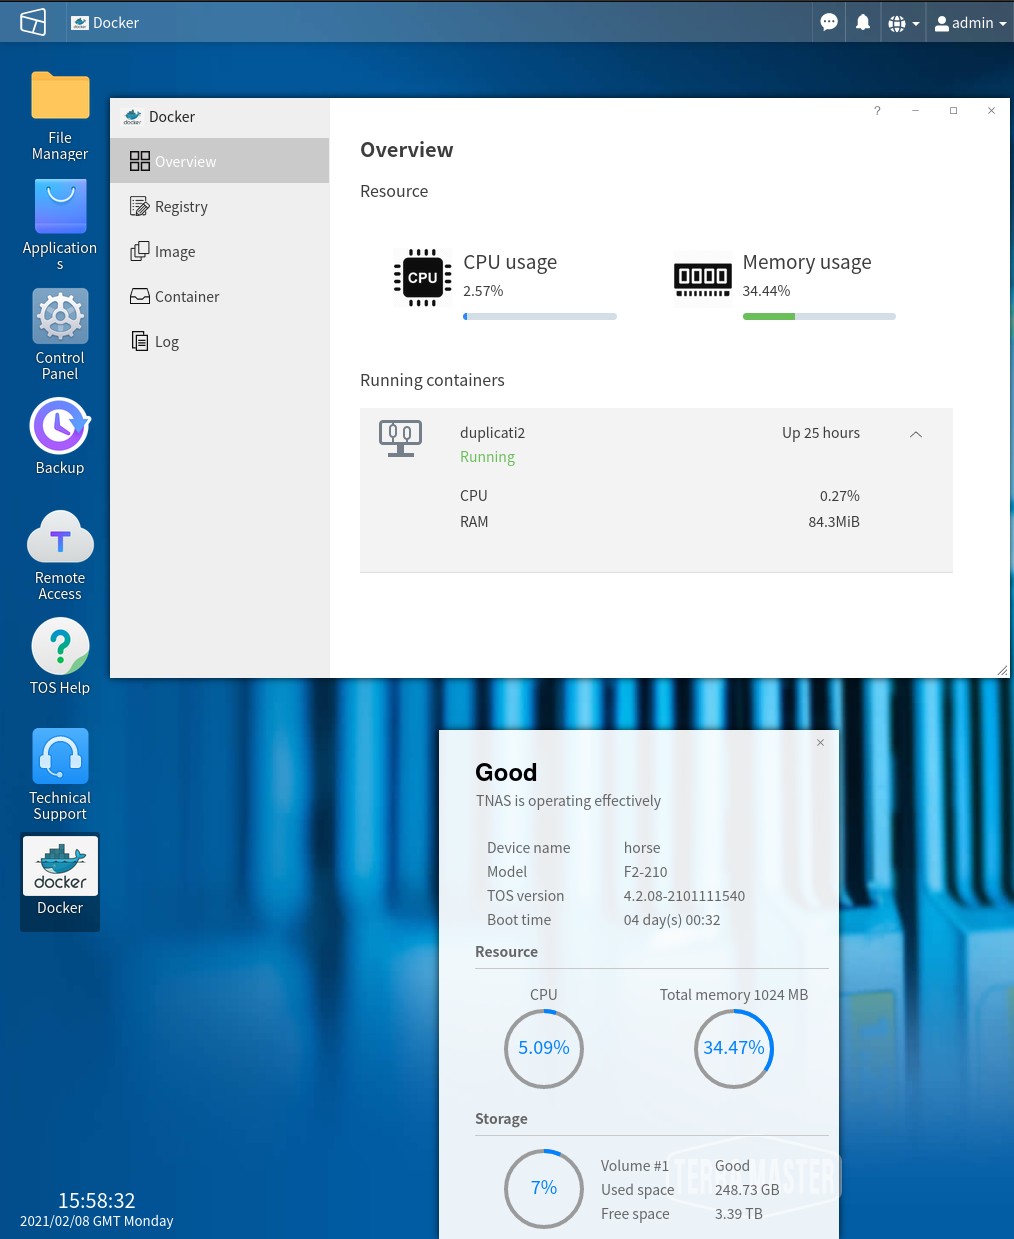
Terramaster OS does its best to look like Windows 10, in a browser. It works fine, though!
It was pretty painless to set up, just pop the drives in, select whether you want RAID 0 (where all the storage is available to you) or RAID 1 (where the data is mirrored between both drives so if a drive fails the data is safe on the other drive), create some shares, and configure your users access to said shares. It also supports encryption of particular shares, although please note an encrypted share will have somewhat lower performance than an unencrypted share and also you cannot mount unencrypted shares via NFS. You’ve gotta stick with SMB for them. Performance of the NAS was surprisingly good, easily maxing out the Gigabit ethernet connection it has.
I then migrated all my photos over to the NAS, and was happy, as now they were somewhat more safely stored than they were prior.
What about a house fire? What if the NAS gets stolen?
One problem with storing your data locally is that if your NAS gets destroyed or goes missing, your data goes with it. This is why off site backup is important. I wanted to back my data up but for it to have the following properties:
- Important personal data is encrypted at rest on the NAS
- All data is encrypted at rest on the cloud backup solution
- The cloud backup solution is as cheap as possible
- The cloud backup solution doesn’t do the whole Amazon Glacier thing of charging you a fortune to retrieve your data
- The backing up of data happens automatically
For the cloud backup solution, I settled on Backblaze B2. The cost for backing your data up there is supremely cheap in comparison to Amazon S3, and Backblaze to me anyway seem like cool people. The cost for backing up 4 whole terabytes of information there with no retrieval over the course of a year would be around 240$.
I split the data on my nas into two categories: Stuff I’d be okay to lose in a house fire, and stuff I would not be okay with losing in a house fire. The stuff I’m worried about gets backed up to Backblaze, which is around 65GB of data total. The cost for backing this up over a year is $3.90 - a cost I can definitely stomach. You can calculate the cost yourself here.
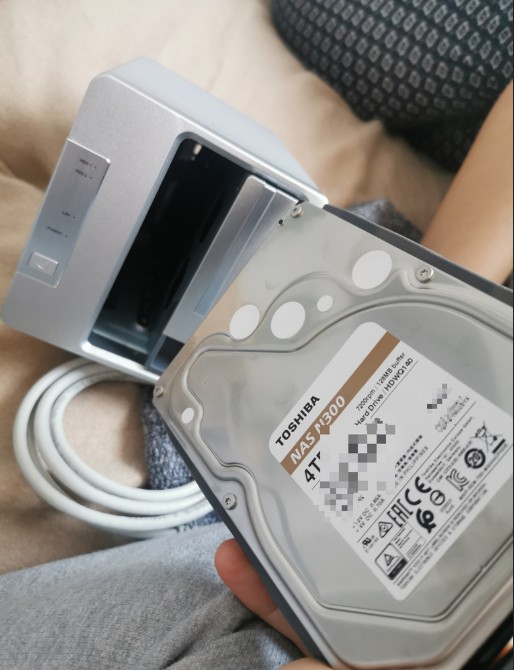
The Terramaster F2-210. A Nice nas!
As for getting the data to Backblaze, I picked Duplicati. Duplicati is a great tool that provides support for many backends (places you back stuff up) along with many options for how you’d like the backed up data to be managed, such as versioning of files and the such. It encrypts the data before it sends it to your chosen backend, and can run on a schedule, so it meets all of my requirements set out above.
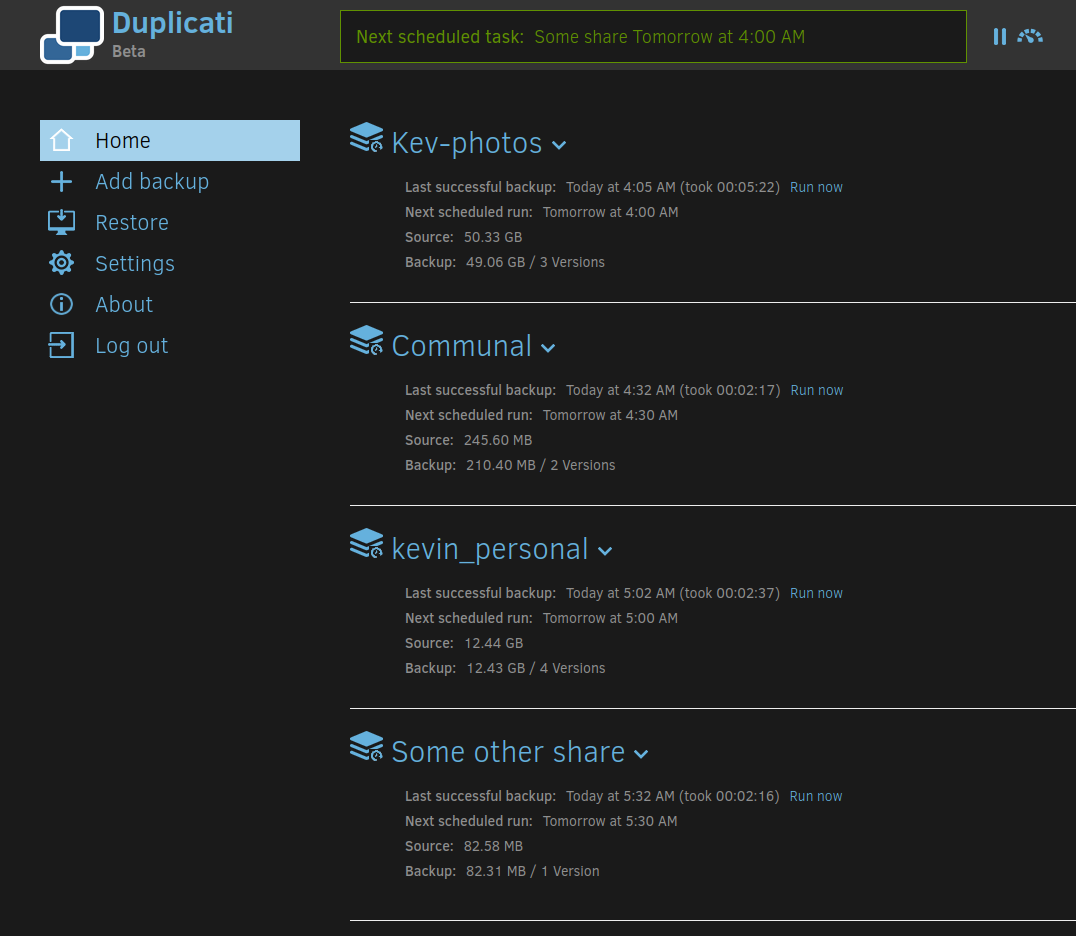
Duplicati runs in a browser
I initially tried to run Duplicati on a Raspberry Pi, which turned out to be a hellish experience because of the dependencies it needs. I then tried running it on my main desktop computer, so it would read the files from the NAS and back them up to Backblaze, but it turns out Duplicati really doesn’t like reading from SMB shares. I tried instead mounting the NAS share via NFS, but as mentioned previously you can’t as far as I can tell mount NFS shares that are encrypted on the NAS. It was then I remembered that this NAS incredibly supports Docker, and therefore I could run Duplicati directly on the NAS itself.
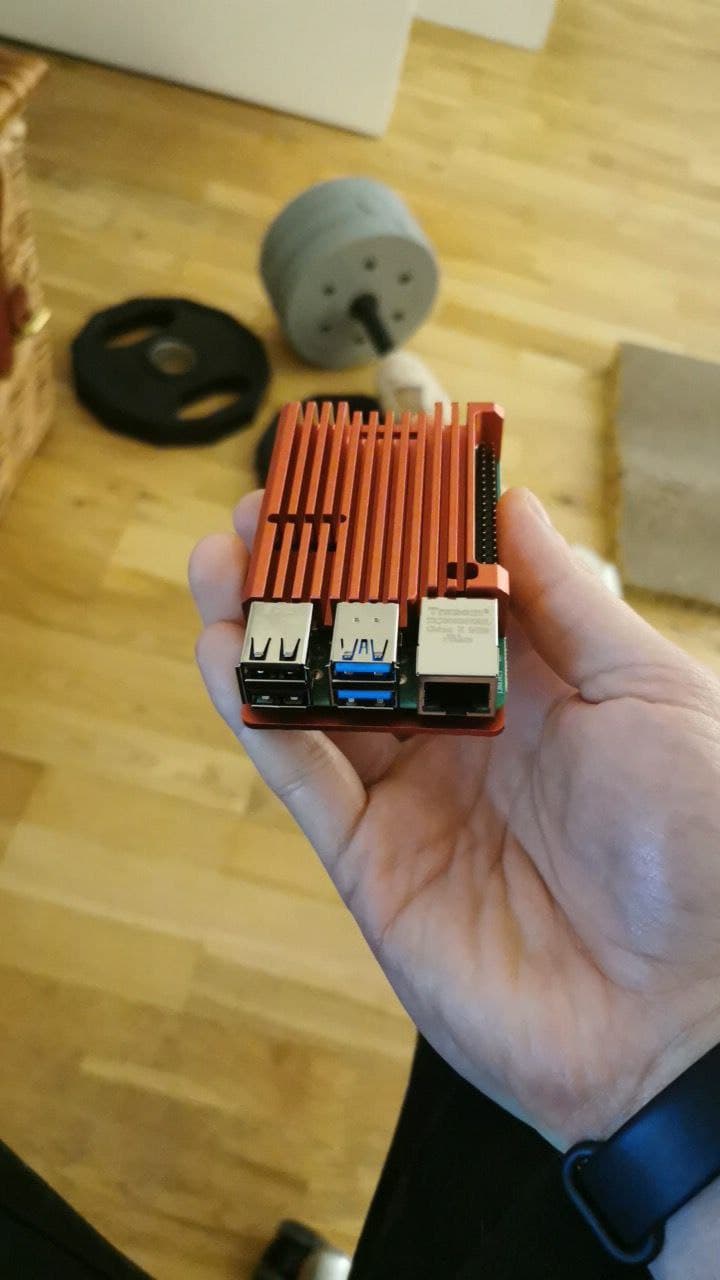
The Raspberry Pi in question
I actually accidentally deleted all my photos from my local computer recently, which is what spurred this whole project in the first place. Duplicati did a wonderful job of restoring them, which I was very grateful for given I had not tested restoring from a backup yet.
Terramaster kindly provides us with Root on the NAS, so setting up the LinuxServer Duplicati Docker image was a doddle, and the NAS quite happily runs this Docker image and backs my stuff up to Backblaze early every morning. I’m honestly quite impressed with this little unit. It’s built very well, the OS seems quite reliable, and it’s done everything I’ve asked of it well so far.
Photo access/search
One of my favourite things about Google Photos was the fact it did image classification on images you supplied it so you could search for words like “Cat” or “Giraffe” and it would show you a mostly accurate list of photos of those specific things. Facial recognition was also creepy, but pretty useful too. I wanted to have this locally, and the project that spurred this whole thing was a wonderful open source project called Photoprism.
Photoprism is a piece of software written in Golang which promises to be a photo organisation/access tool that can run on a Raspberry Pi. It does image classification using a Tensorflow model, and can manage large libraries of photos. Running it is as simple as pulling the Docker compose file and building it.
It is a truly amazing piece of software, but where to run it? I purchased a Raspberry Pi 4 8GB variant (since Photoprism says it wants at least 4GB of RAM, and I wanted to run other services on this Pi), and connected it up to a spare SSD (A Kingston A400 480GB drive) in a USB enclosure (A Orico 2.5 inch USB 3 Enclosure) I had lying around which it turns out Raspberry Pi can boot from now. This offers much improved performance over a MicroSD card and significantly better reliability. MicroSD cards are notorious for failing in a Pi, and various blog posts have talked about the improvements in performance and reliability that can be had by booting from an SSD.
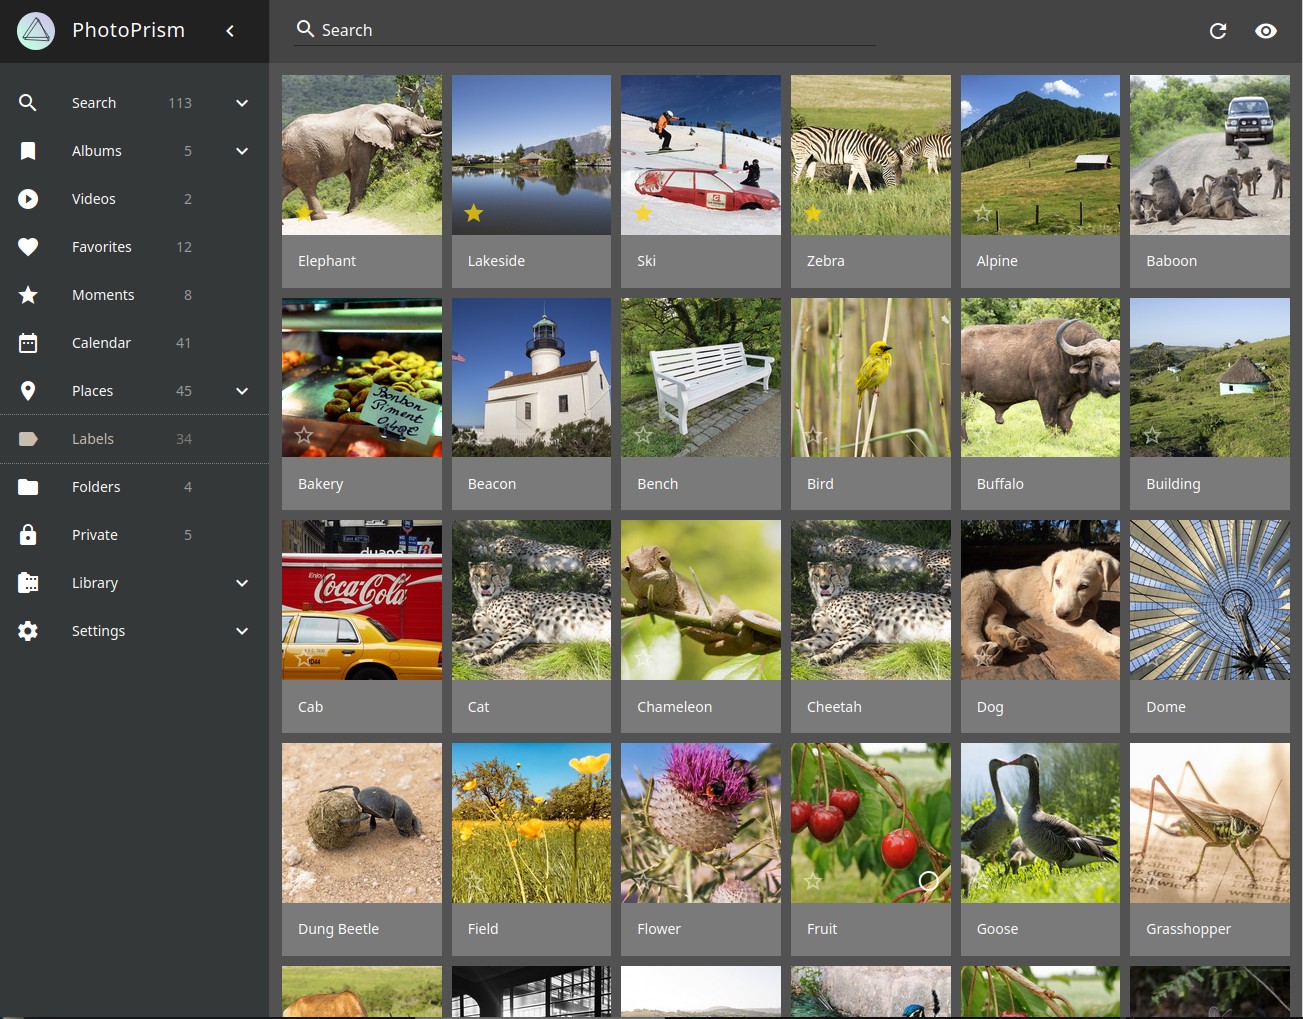
Photoprism labelling works impressively well!
One thing you should bear in mind is the thermals of your Pi. The Pi 4 runs pretty hot when working hard, and Photoprism will work it extremely hard. I purchased a passive aluminium case for my Pi which does an amazing job of keeping the Pi cool enough to continue operating at it’s stock clock speed of 1.5GHz, but I wanted to overclock my Pi and at a 2.1GHz overclock the case is overwhelmed. For this, I purchased a 50MM fan which I attached to the GPIO pins of the Pi and blu-tac’d it to the case, and now it does not exceed 60 degrees under extreme load and operates at 2.1GHz all day. You’ll also want a decent power supply.
After installing Raspbian and doing the standard hardening routine (disable root account, make a fresh user, disable ‘pi’ user, fail2ban, etc), I set Photoprism up on it, and pointed it at my NAS as the photo storage directory, but told it to store its cache locally on the SSD - since decent performance is probably a good thing for that.
It took around 3 days total for Photoprism to finish churning through all my photos and videos, where it generated almost 30GB of thumbnails, but after this process was complete I ended up with a lovely searchable indexed version of my photos, that while not quite as slick as Google Photos certainly meets my needs.
Adding more photos
Another problem is how do I back up new photos I’ve taken? I decided to go somewhat oldschool on this in the interest of keeping things simple, and set up Shotwell, a piece of free software which can import photos from your camera or phone, and organises them into a YYYY/MM/DD folder structure. It avoids reimporting duplicates, and seems somewhat okay with reading and writing to a SMB share. This means about once a week, I’ll dock my phone, import the photos using Shotwell, which will then put them on my NAS. At 4am the next day, those photos are backed up to Backblaze safely, and Photoprism will index them, making them available for search/retrieval.
This solution isn’t ideal, since Shotwell takes forever to be ready to import photos (assumedly because it’s reading the file list and checking nothing has changed from the SMB share), but it works well enough for me right now.
Deleting the photos from Google Photos
Once I’d done all this and was happy with the solution, I decided it was time to delete all the photos I had from Google Photos. Turns out, there is no button you can press to just delete all the photos you have, and instead I found a lovely script on Github called google-photos-delete-tool which when pasted in the dev tools of your browser, will delete your photos by automating the process of selecting them and moving them to trash. Be careful while doing this, since photos which were previously stored under the “Unlimited” photo storage plan will now take up space in your bin, and therefore you’ll need to empty your bin every now and then while the script is working. I had to regularly refresh the page and restart the script too, as it seemed to hang after deleting about 6 months of photos.
Conclusion
Thanks to a combination of a NAS, Raspberry Pi, Duplicati and Backblaze B2, I’ve got a photo management solution that I am fully in control of, that is housefire proof, and is encrypted at rest everywhere. I’m pretty happy about this, and given I use the Raspberry Pi and the NAS for other uses too (Plex, Home Assistant, etc) - it is fairly cost effective.
Let me know what you thought! Hit me up on Mastodon at @kn100@fosstodon.org.